Fitting under car Neon light kits
"Be a glow worm"

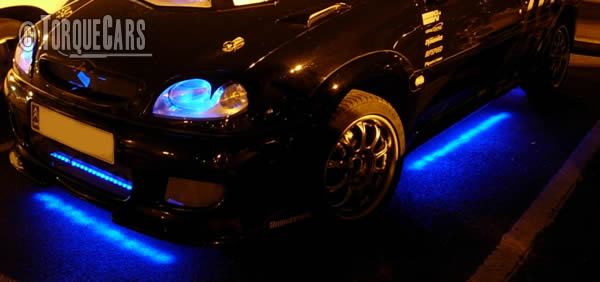
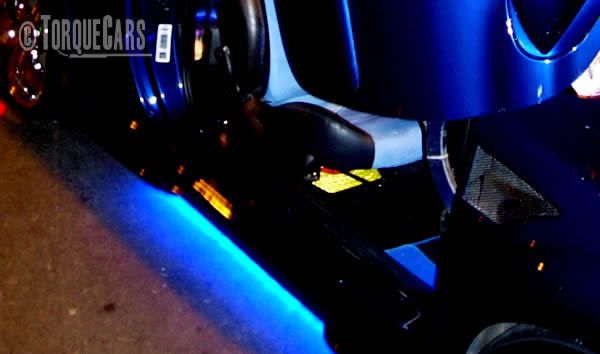
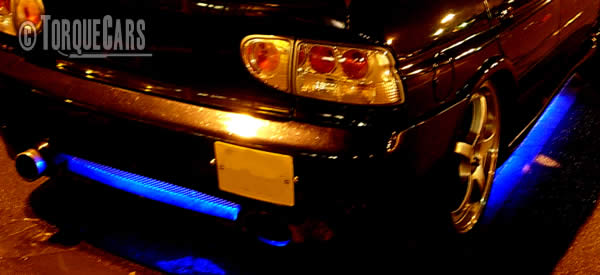
Neon lights come in all manner of colours and styles, including flashing and colour changing neons, pulsing neons, strobes and should be considered a show item only.
Most countries traffic laws require due consideration to other road users and neons are classed as a distraction rather than a safety enhancement. So check the local legislation that applies before you decide to drive around with neon lights showing. In some countries Blue is reserved for emergency vehicles and red can only show to the rear of the car.
Fitting instructions:- This is a simple job that should be completed in a few hours provided you do your homework, get the parts you need and have READ the INSTRUCTIONS that came with your Neon light kit. Plan out where the neon lights are going before you even open the box.
Make sure you are able to turn them off and on inside the car separately from the cars lights legality. You will need a jack, 4 Axle stands or a garage with a power lift, power drill or power screwdriver with drill option, screwdriver and depending on the kit you buy some shrink wrap cable covers or electricians self sealing tape and perhaps you will need to source the electrical cable yourself.

First disconnect car battery as per the instructions that came with your car - this will often reset the ECU and you will lose your stored MPG and other saved settings such as auto windows and they will need to be reprogrammed and you may find you need to enter the radio code so ensure that this is handy. Clean underside of the car with a jet wash to remove grit dirt and grime as this will let you see what you are doing more clearly.
Jack up the car and ensure it is securely fixed on axle stands (never work under a car that is just supported by a Jack,
Lay out tubes on ground first and check the required cable lengths wires should be facing the front of the car. In most countries the tubes must not show to the sides of the car so fit them into recessed under the car and avoid fitting them near the fuel line, hand brake cable or exhaust pipe.

Brackets that came with the tubes should be fitted to the tubes. Holding these up to the underside of the car will enable you to mark the screw holes. (Check you will not be drilling into anything important, mark it with a marker pen. Use a punch to start the hole and drill into the underside of the car remembering that the metal is only a few mm thick. Apply a rust inhibitor to the holes and then using the screws supplied affix the tubes to the underside of the car.
Next comes the power transformer which is usually best fitted to a space in the engine bay out of the way. Be careful to avoid a wet location or anywhere near the exhaust or cooling system. This could also be fitted behind the dashboard or in the foot well area. Connect the -ve terminal to some bare metal in or around the car not directly to the battery. Take a +ve line from the battery which should have a correctly rated inline fuse within around 12 inches of the Battery itself and connect this to the transformer via a switch inside the car to enable you to turn it on and off independently of the cars ignition.

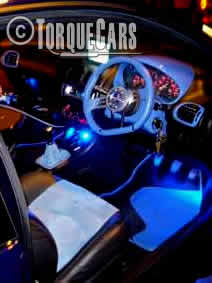
Next connect the neon lights to the transformer as per the instructions that came with your kit. You may need to solder the connections yourself or it may have a good quality water tight plug attached. If you solder remember to use a shrink wrap over the connection or electricians self sealing tape to gain a waterproof joint. Engine bay and Boot/Trunk neons are also fitted in a similar way and some kits contain interior neon lights as well.
Any slack will vibrate and wear - ensure all joints and cable runs are securely fixed. Use cable ties, and cable clips to fix any slack cable firmly down.
Please Check out my YouTube channel, we're regularly adding new content...
PLEASE HELP: I NEED YOUR DONATIONS TO COVER THE COSTS OF RUNNING THIS SITE AND KEEP IT RUNNING. I do not charge you to access this website and it saves most TorqueCars readers $100's each year - but we are NON PROFIT and not even covering our costs. To keep us running PLEASE Donate here
If you liked this page please share it with your friends, drop a link to it in your favourite forum or use the bookmarking options to save it to your social media profile.
Feedback - What do You Think?
Please use our forums if you wish to ask a tuning question, and please note we do not sell parts or services, we are just an online magazine.
Help us improve, leave a suggestion or tip
Please watch this video and subscribe to my YouTube channel.

 Click to accept YouTube Cookies & Play.