At Last!. I have started on my car ;-) PART 2

OG, considering the environment that these machines are usually in, might I suggest that you try (with the PC powered down off course) spraying some fast evaporating contact cleaner into the graphic card socket and onto the graphic card contacts. Leave it for an hour or so then try and reseat the card back into it's holder; certainly worth a try! I have had similar issues on some of my motherboards for Trend controls before and this has worked for me.

Good luck ;)

Good idea, I will try that tomorrow. Thanks Os.
 
At the request of T9 on a different thread, a photo of my latest goodies :)

A DIY 'jubilee' clip kit (I need 4 large clips)
One of my existing rear damper push rods in steel, but I am not happy with both strength (may have thinned wall down too much) and weight (192grams each) next to the 14mm OD, 10mm ID carbon fibre rod to replace them.

Also a collection of titanium rods bought for a song on eBay. No use for them at the moment but you never know...... :)

 
Nice one OG, so you bought the rods as a just in case :blink:

Your as bad as me :embarrest: I buy loads of things without any direct intention of using them and store them away in what my staff lovingly refers to as "Aladdins Cave" :embarrest: I think I might need help :lol:
 
I know, like electric drills! :)

The rods were saying, "buy me, buy me", so I thought it would be cruel not to.

For example, they could be used where studding is required and aluminium is not strong enough. No jobs earmarked yet but no doubt they will appear in the fullness of time :)
 
Just bought a line lock solenoid.

Ebay price was £56.99
Direct from USA manufacturer to Anaheim $56.61 (sister-in-law's place)

I will either pick it up in August or have it shipped over for around $12 if I need it earlier. Even in this case I will have saved £14. Not a lot, but a saving is a saving.
 
Also, 16mm aluminium bar arrived today so I can make a start on the damper pushrod ends to fit in the carbon fibre pushrods. Can't finish them, however, until left hand M10 tap arrives from China.

Wouldn't normally buy something like this from China, but at £3.30 including postage it will be fine for tapping aluminium. It claims to be HSS so we shall see.
 
Also, also, ordered 4 M12 x 100mm titanium bolts and a decent HSS M12 x 1.75 die.

Can't find the right length bolts in 1.75 pitch. These are 1.25 but long enough to allow me to cut the threads off and rethread to 1.75.
 
Finally fixed the CNC Mill PC!!! It had developed, what I thought was, a graphics fault as the screen said 'no input signal'.

Davalav has been great, supplying me with a replacement PC but it didn't like my hard drive for some reason.

After over two weeks of faffing about I took my original PC to my local computer shop. They tried a graphics card but that didn't work.

Taking the memory out and putting just one stick back improved matters a bit (it would start to load then reset) so I took it home and messed with the memory with no luck.

I then tried loading Windows in safe mode and this worked. So I then tried restoring an earlier saved setup but this didn't work. However, on going back a little further I found a restore that worked!!!!!

As the Mill PC isn't connected to the internet I am going to use Davalav's donated PC for web browsing and music in the barn as radio reception is rubbish.

Thanks again Dave.
 
Update

After discussions with various people I have decided to up the size of the carbon tube I am going to use for the rear damper pushrods. Slightly heavier but it does mean that I can fit the aluminium threaded inserts totally within the tube, thereby reducing their length and weight :)

I have been trying to find a supplier of carbon/aluminium honeycomb/carbon sheet at a sensible price. Had no luck so spoke to Ben at Carbonweezel. He said that it is easy to make your own! And guess what, it is.

I already have a sheet of carbon bought before I discovered Carbonweezel so just ordered a sheet of aluminium honeycomb and the adhesive to stick it all together.

Photos of manufacture will be posted.
 
Aluminium honeycomb arrived today. Not at all what I expected:


This will open up to 1200 x 600mm (as it stands it is approx 30mm wide)
 
Making my first piece of carbon fibre honeycomb sheet.

Made pattern using plastic card. I had a little moment when I thought clutch master cylinder would foul top of bulkhead but it just fits.


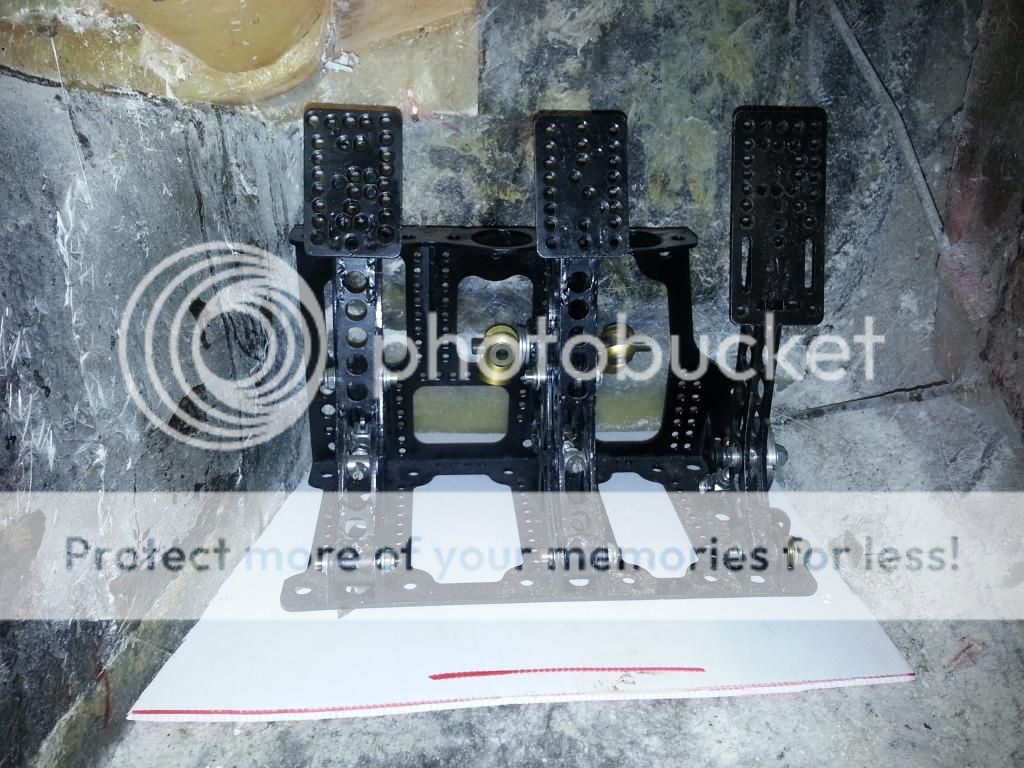
Cut carbon sheet to pattern. Two pieces, mirrored.

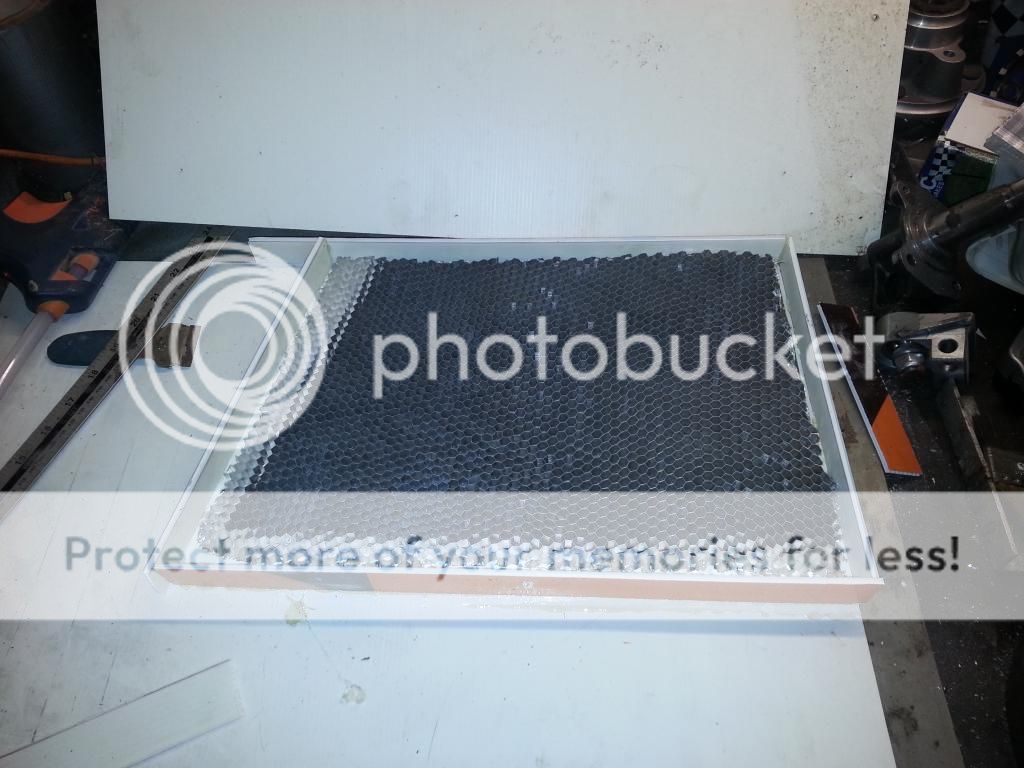
Cut section of honeycomb just bigger than carbon


Made resin tray out of same plastic card.


Mixed 2-part resin. No idea how much I would need so erred on the high side - 200gms of part 1 and 66gms of part 2.

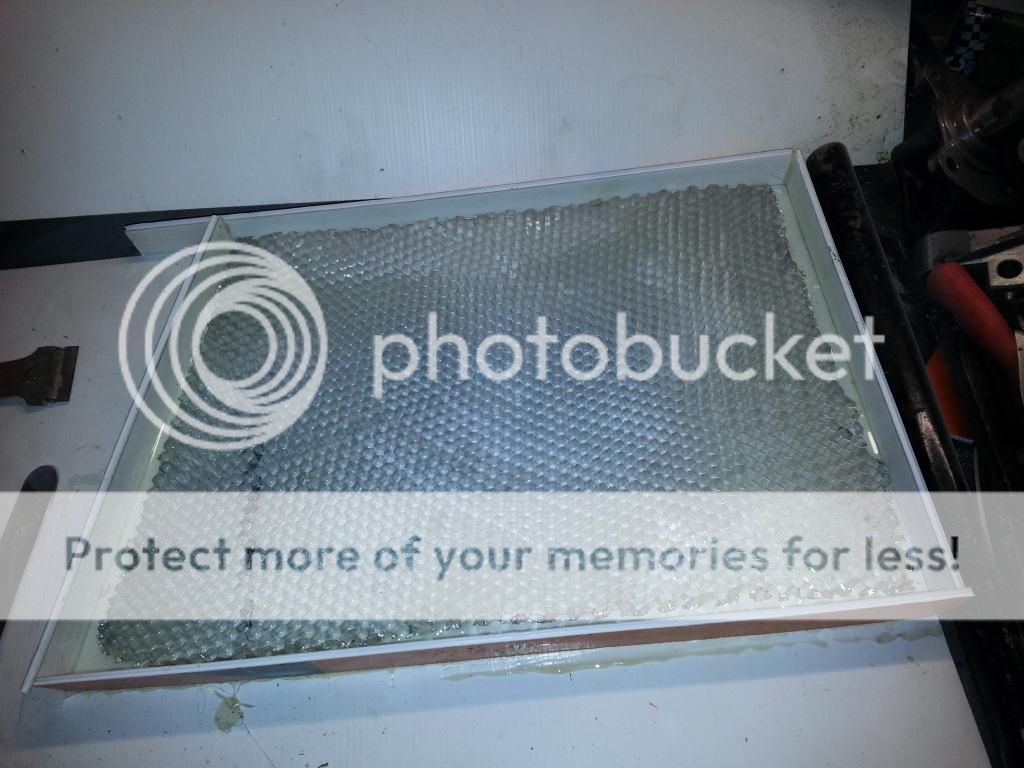
Poured resin into tray and spread it evenly.

Placed honeycomb into tray and shuffled it about to make sure of decent coverage.


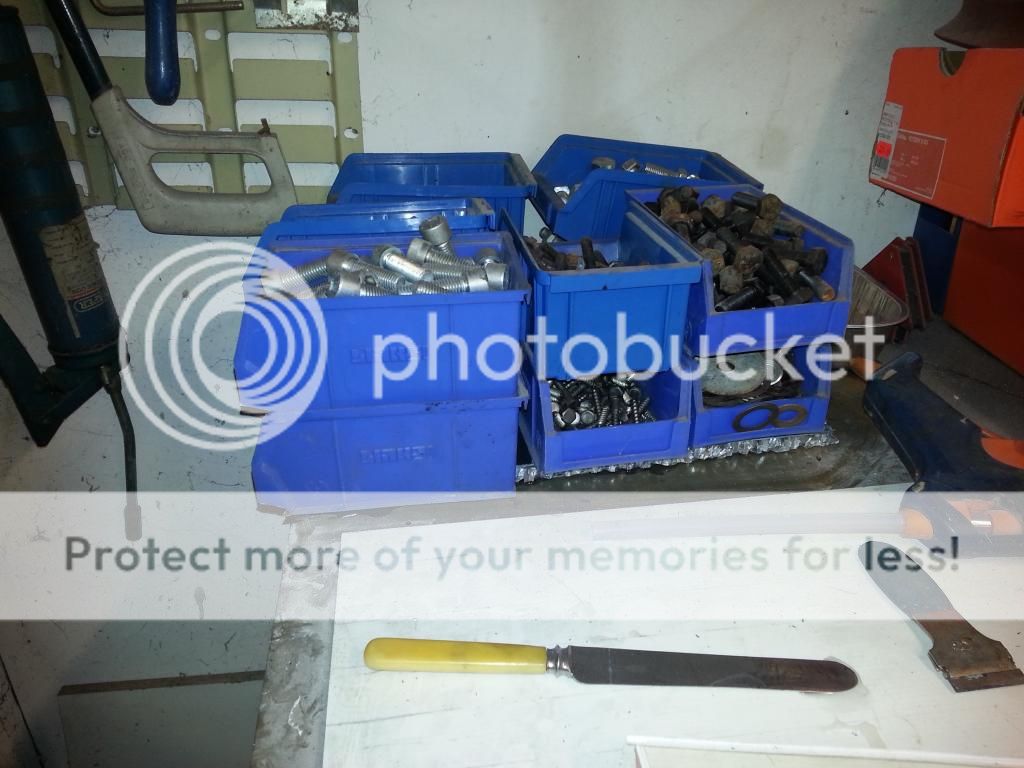
Placed honeycomb on to carbon sheet and placed other sheet onto unglued side so it could be weighed down using bolt bins :)


Removed unused resin from tray and it weighed 150gms. Left for 3 hours to cure.

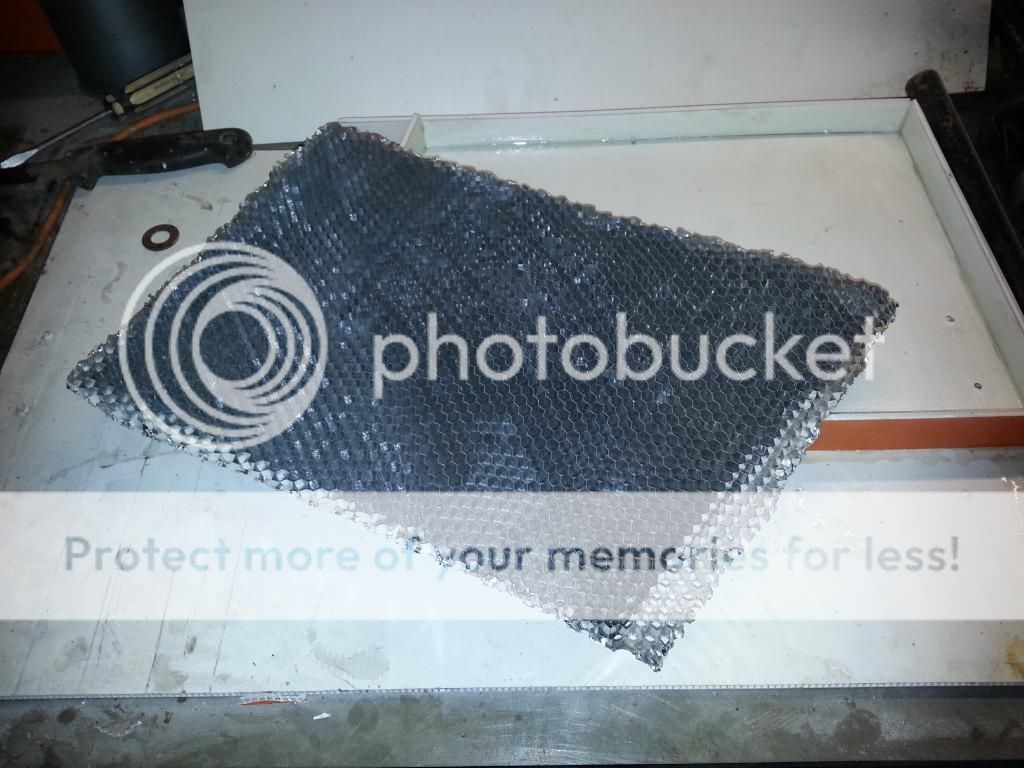
Removed weights and it seems to have worked.


Reduced next resin batch to 150 and 50.

Filled tray with next batch of resin. Placed honeycomb/carbon into resin with honeycomb down.
Removed from tray and placed onto second carbon sheet and weighed it down again with bolt bins.

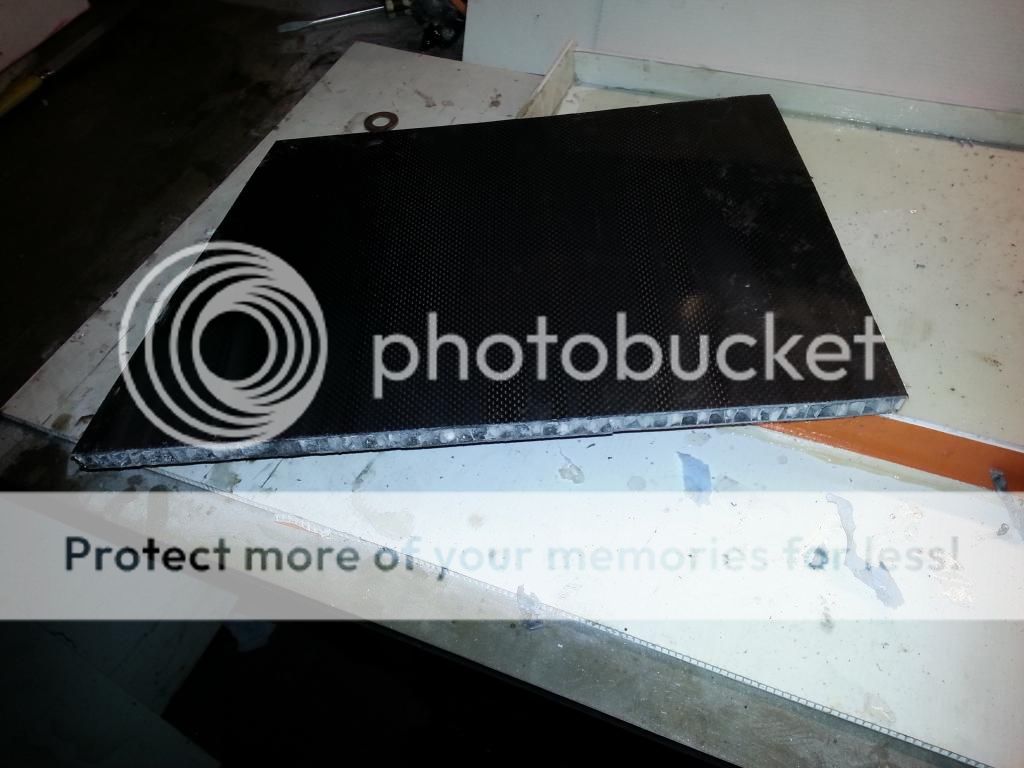
Removed bolts this morning and unstuck carbon from bench :) Didn't turn out too bad for first attempt.


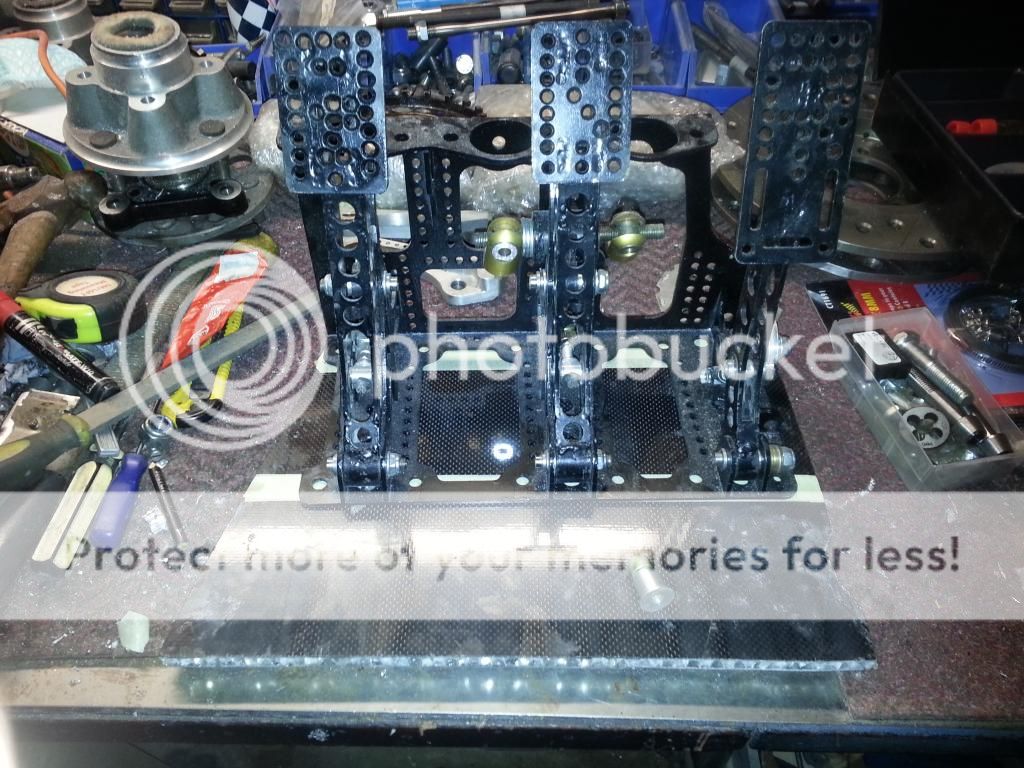
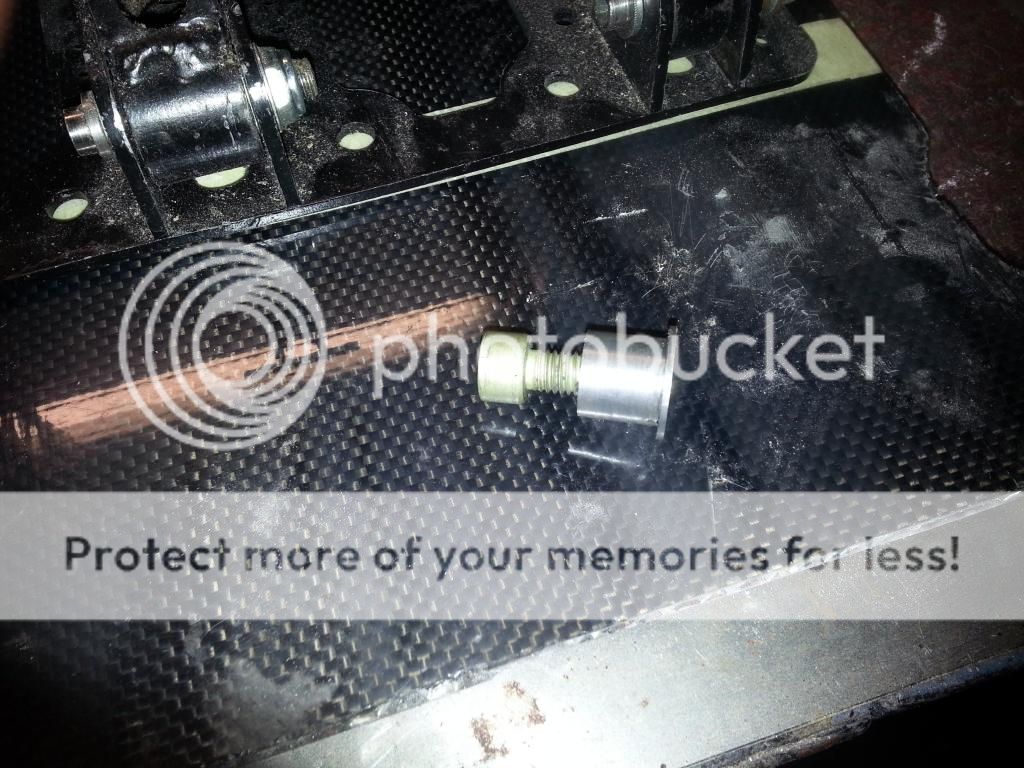
Next job is to make fixing bobbins so pedal box can be attached. These have to be used otherwise tightening bolts will crush the honeycomb.


Last edited:
Thanks for the thanks chaps :)

Made the rest of the bobbins required to secure pedal box to carbon.


Close up shows aluminium bolts have been lightened slightly and bobbins are in a need of a little cleaning.


Lightening of the bolts saved 8grams :)
 
Wrote a short control program on the fly to cut the holes for the fixing bobbins - getting the hang of this CNC malarkey :)

I sanded fibre surface in order to remove rough edges around holes prior to glueing. I will rough up the surface a bit more before I glue it onto the car floor.


Made a video of the hole cutting but it keeps failing to load onto photobucket :-(
 
Chuffed, I am. Pedal box actually fitted onto the bobbins!


Couldn't find one of the interior door handles so, as the one I found was quite heavy (73gms), I decided to make replacements. As they don't have to be the same as the originals I simplified the design. New one weighs 33gms :)

Part CNC part elbow grease.


Top original, bottom new. Same length.


Remade rear damper pushrods with a slightly bigger CF tube.

 
Last edited:
There was a little play in my mill's spindle so decided to replace the bearings.

Once I had worked out how to get the spindle out I found one of the bearings to be a tad worn out:


Both bearings replaced and machine back together with no bits left over :)
 
What's happened to me?

Made the other interior door handle and it looks a good as the first one.

I then decided that I could make the boot hinges as well :)

Designed and wrote the g-code, so far so good.

Started to machine the first one this afternoon. Got half way through rough machining one part of the first hinge and thought, this is going to take way too much time.


So I have decided, for now, to stick with the standard, heavy, hinges and use the time freed up to build the front suspension.

Good decision, methinks.
 
Last edited:
Right, so if I understand this correctly, this gizmo is connected to your launch control and then releases the brakes at the appropriate moment :blink:
 
Not quite. This is used to lock the front brakes on so the rear tyres can be spun up, getting them hot and sticky.
 
Just dodged a bullet.

Dug out an old standard Sierra Cosworth 15" wheel to see if I can use this size instead of the planned 16" as there seems to be a better width choice. However, on offering it up (even without a hub fitted to the upright),it quickly became obvious that the droop limiter strap would foul the wheel! Even with the strap unbolted from the upright you can see the problem:


Ooops, slight design flaw methinks. Fortunately, I haven't yet removed the redundant anti roll bar bracket from the bottom wishbone. This is directly below the top mount of the limiter so a longer strap will work.


However, thinking about it further I can reposition the top of the strap to the bottom of the upright, thereby resuing the existing straps, keep the weight down and lower the centre of gravity half a knat's thingy.

Phew!
 
Droop limiter resited, just need to drill a hole and make a stepped spacer for the rod end. The bolt, although titanium, is in single shear and I am not happy about that. An eye will be kept on it once we are up and running:

 
16" wheel fits OK. With no damper or droop strap in the way I have plenty of backset available :)


Update on wheel saga.

After some tweaking and minor redesign I have managed to squeeze 15" wheels on. This means that I can now choose between 15 and 16 inch road wheels. It also means that I can fit 15" slicks of which there are far more options than in 16".


I have also glued on the offside damper fulcrum support bracket:


Last edited:
Thanks. But hopefully not lethal :)

One step forward, one step back at the moment.

Spoke to Image Wheels today to find out the inner diameter of their 15" wheel. It is 350mm. Measured the Sierra Cosworth 15" wheel I have been using to adjust the suspension and this is 370mm!

Bugger.

Back to Image tomorrow as they did say that they do a 360mm rim for some wheel styles. This might just work.

On a brighter note, fulcrum bracket seems to be fixed ok, so painted it :)


First job tomorrow is to do a little tidying up:

 
Last edited:
I have just been lent a 15" Image Wheels wheel so I can check if I can use this size. If I can then I wilbe looking at these tyres in 225/15 front and 305/15 rear:


I have to thank PeterPan for bringing these to my attention. On speaking to my racing guru he confirmed that they are a good tyre and to go for the wideest I can fit and the softest compound, which will be the W5 wet. When drag racing a wide and narrow contact patch is better than a narrow and long patch, according to my guru.
 
Made nearside fulcrum bracket today.

Instead of spending all day making it out of a lump on the CNC I spent an hour cutting and bending aluminium sheet and then popped over to my tame welder, who did it for free! Much better idea!

When the glue has set I will spray it black to match the offside one.

 
Right, just need confirmation from you guys.

When fitting handed driveshafts, standard thread on left hand side and left hand thread on right hand side of car?
 
Started on front suspension today.

Lots of faffing about with nuts and bolts hitting various rotating bits, due mainly to fitting aluminium hubs along with squeezing wheel sensor trigger between disc and vertical link.

Sorted:

 
After some more fettling so that the caliper sits central to the disc the front suspension unit is finally coming together.

Arrow points to washer between caliper brackets needed to position caliper correctly


Machining spacers to required thickness:


Front hub assembly:

 
Looks good mate! What profile tyre will you be using? Will clearance be an issue? I'll pop over this week (or try too!) and check it out.
 

Similar threads


Please watch this on my YouTube channel & Subscribe.


Back
Top