How to resurface and repair damaged alloy wheel rims.
"Getting 'round to it at last."
Alloy wheels will get scuffed and kerbed and after a while can start to look really bad. However if you have the time and patience and the right tools you can actually do some repairs to your alloy wheels and bring them back to an as new condition.
There are a number of professional and mobile alloy wheel repair services around and for what they charge it is usually worth calling them in if you have a complete set of wheels that needs attention.
If your wheels have only minor damage and you fancy going the DIY route then we shall outline the methods involved using a readily available kit.
Damage to wheels will generally lift the paint layer and will allow corrosion to set in causing the wheel to bubble and blister. If not caught early enough the damage can really take hold and the deeper it goes the harder it is to repair it.
The basic method of repair is sand or file down any raised areas and apply filler to any depressed regions giving a smooth finish and then applying some paint to finish the job.
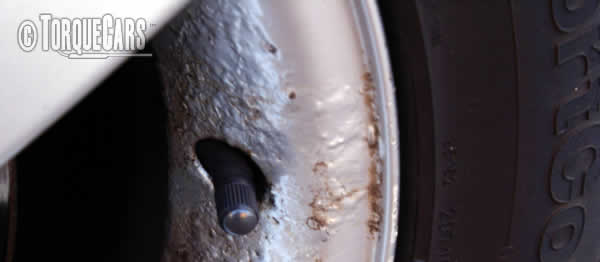
Here we have some particularly nasty alloys where the paint has bubbled and corrosion has set in along with all the minor scrapes and scuffs around the rim.
Step 1 Preparation.
Taking off the wheels and tyres is obviously the way to get a much better finish but if time does not allow this you can do an adequate job with the wheels on the car.
Inspect the wheel for cracks and stress fractures, these cannot be safely repaired and the wheel should be replaced.

Step 2 Cleaning
This is key really and you should strip off all the brake dust and road grime that has built up on the wheel otherwise the new paint will not adhere properly and will just flake off. Use a brush to get right into the difficult to reach areas and as you are finishing the wheels off with paint then we would recommend using one of the over the counter acid based wheel cleaners but you must rinse them off thoroughly.
File down any rough areas or where corrosion has set in or the paint has started to blister. After this rub down very thoroughly with a fine grade of sand paper and ensure that it is smooth as you drag your finger over it. Then apply some filler to the depressed areas to build the surface up so that it matches the rest of the surrounding area. Most kits will come with some form of resin based filler but most car body filler will suffice for superficial damage.
Step 3 Masking
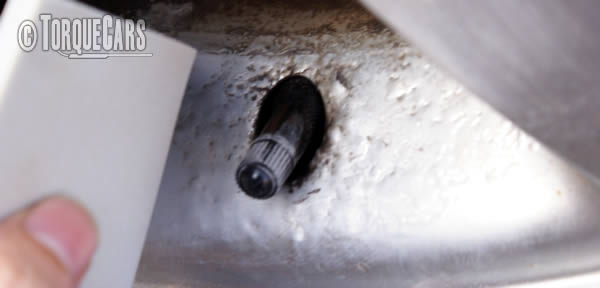
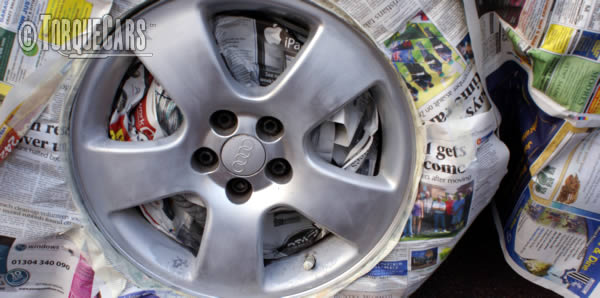
If the wheel is off the car and the tyre has been removed then there is little need to mask anything off for painting. If the tyre is still on or the wheel is still on the car then you should mask the wheel very carefully. Overspray will look very unsightly so the masking tape needs to be very carefully placed. You must take your time on this area and be sure to mask inside the wheel because getting paint on your brake discs is a very bad idea.

Step 4 Painting
Rough up the wheels surface with a fine grade of sandpaper to allow the paint to bond with the metal and wipe off any residual dust.
Apply the paint in very thin layers and build the paint up over time. Leave around a hour between each mist coat and keep misting the wheel until the paint covers the surface. It is best to do this on a warm still day if painting outside. Most metal paints will do but you should aim to do both wheels on one side so they match up as it is notoriously hard to match up metallic paints.
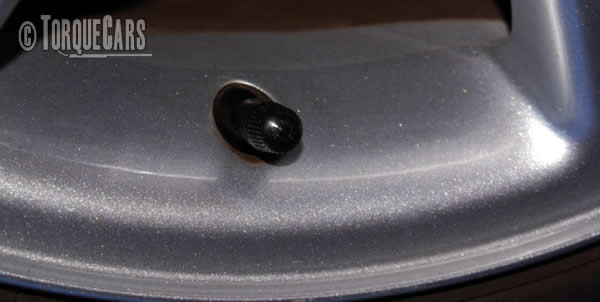
After you have painted the wheel you can then apply a protective lacquer coat and then use some polish and rim wax to finish it off. Hopefully if you took your time over the preparation you will have a nicely finished and fully repaired alloy wheel.

To discuss alloy wheel repairs and resurfacing techniques with our members please join our active and very friendly forum where you can swap hints and tips with people from around the world.
Please Check out my YouTube channel, we're regularly adding new content...
PLEASE HELP: I NEED YOUR DONATIONS TO COVER THE COSTS OF RUNNING THIS SITE AND KEEP IT RUNNING. I do not charge you to access this website and it saves most TorqueCars readers $100's each year - but we are NON PROFIT and not even covering our costs. To keep us running PLEASE Donate here
If you liked this page please share it with your friends, drop a link to it in your favourite forum or use the bookmarking options to save it to your social media profile.
Feedback - What do You Think?
Please use our forums if you wish to ask a tuning question, and please note we do not sell parts or services, we are just an online magazine.
Help us improve, leave a suggestion or tip
Please watch this video and subscribe to my YouTube channel.


 Click to accept YouTube Cookies & Play.