
What is a compression test?
A compression test can be a very useful tool in checking the overall health of your engine. In particular the pistons, bores, rings, valves, head gasket and even camshaft can all cause lower (or higher) than normal compression. It basically tests how well the cylinders hold compression.
What results should I be seeing?
It is widely accepted that an engine in good condition should have all cylinders within 10% of each other and have compression as close to or within the specified range for that vehicle. Any different and chances are there's a problem. I will cover this later.
How do I carry out the test?
1. First of all you need a compression tester. You can pick these up fairly cheaply (usually less than £20). I use this Gunson one avaliable from Halfrauds and a range of other stores. It's more than fine for the job.

2. Now, you will need the engine up to working temperature to get proper readings. NOTE: From here on in be careful as some engine components may be very hot!
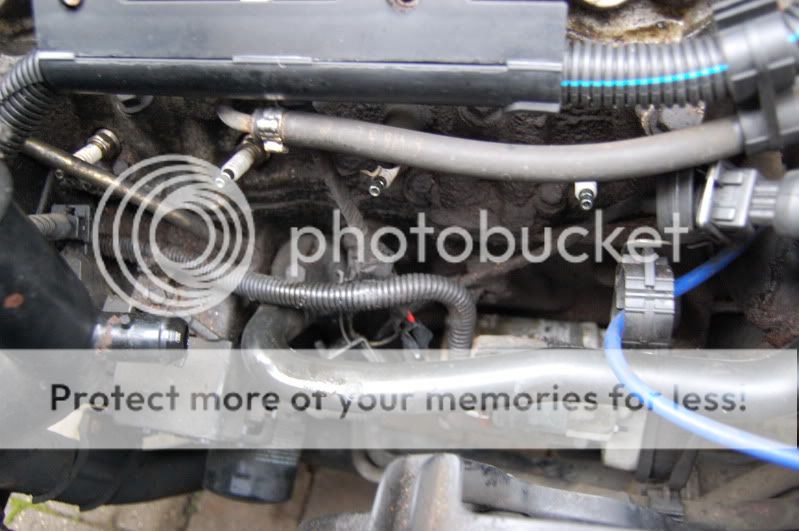
3. Disable the ignition and fuel supply. You can do this a number of ways but generally speaking you just need to unplug the injectors and coil-pack (etc).

4. Next, remove the HT leads.
5. And then the first spark plug. Then, screw the compression tester into the spark plug hole on the first cylinder. This only needs to be HAND-TIGHT. Rest the dial somewhere you can see it.

6. Open the throttle fully by pressing the accelerator and crank the engine until the gauge stops rising. This should normally take no more than a few seconds. Note the final reading.

7. You can now release the pressure from the cylinder and gauge by using the bleed nipple.

8. Unscrew the compression tester and repeat for the other cylinders, recording the final reading each time.
What should I be seeing?
Readings should be within 10% or each other and within the specified range. For example:
Cylinder 1: 164psi
Cylinder 2: 170psi
Cylinder 3: 170psi
Cylinder 4: 165psi
Specified compression should be 176psi. This is a very good result and the cylinders being slightly low compression is most likely the rings and/or bores slightly worn due to mileage.
What if my results are different?
This can indicate a number of things. Next thing to do is a wet compression test (this was dry) and then go from there. This involves putting a teaspoon of oil into the cylinder just before the test. Oil will help seal the rings if they are worn and increase the reading but won't affect any suspect readings if there is an issue with the headgasket or valves.
Two cylinders next to each other with low compresson but simular readings would indicate HG failure between the two cylinders.
If one cylinder is low and the wet test increased the reading dramatically this would indicate excessive ring or bore wear. If not, you're looking at the valves, gasket or even a worn camshaft. You will need to use other methods to narrow-down the issue.
A compression test can be a very useful tool in checking the overall health of your engine. In particular the pistons, bores, rings, valves, head gasket and even camshaft can all cause lower (or higher) than normal compression. It basically tests how well the cylinders hold compression.
What results should I be seeing?
It is widely accepted that an engine in good condition should have all cylinders within 10% of each other and have compression as close to or within the specified range for that vehicle. Any different and chances are there's a problem. I will cover this later.
How do I carry out the test?
1. First of all you need a compression tester. You can pick these up fairly cheaply (usually less than £20). I use this Gunson one avaliable from Halfrauds and a range of other stores. It's more than fine for the job.
2. Now, you will need the engine up to working temperature to get proper readings. NOTE: From here on in be careful as some engine components may be very hot!
3. Disable the ignition and fuel supply. You can do this a number of ways but generally speaking you just need to unplug the injectors and coil-pack (etc).
4. Next, remove the HT leads.
5. And then the first spark plug. Then, screw the compression tester into the spark plug hole on the first cylinder. This only needs to be HAND-TIGHT. Rest the dial somewhere you can see it.
6. Open the throttle fully by pressing the accelerator and crank the engine until the gauge stops rising. This should normally take no more than a few seconds. Note the final reading.
7. You can now release the pressure from the cylinder and gauge by using the bleed nipple.
8. Unscrew the compression tester and repeat for the other cylinders, recording the final reading each time.
What should I be seeing?
Readings should be within 10% or each other and within the specified range. For example:
Cylinder 1: 164psi
Cylinder 2: 170psi
Cylinder 3: 170psi
Cylinder 4: 165psi
Specified compression should be 176psi. This is a very good result and the cylinders being slightly low compression is most likely the rings and/or bores slightly worn due to mileage.
What if my results are different?
This can indicate a number of things. Next thing to do is a wet compression test (this was dry) and then go from there. This involves putting a teaspoon of oil into the cylinder just before the test. Oil will help seal the rings if they are worn and increase the reading but won't affect any suspect readings if there is an issue with the headgasket or valves.
Two cylinders next to each other with low compresson but simular readings would indicate HG failure between the two cylinders.
If one cylinder is low and the wet test increased the reading dramatically this would indicate excessive ring or bore wear. If not, you're looking at the valves, gasket or even a worn camshaft. You will need to use other methods to narrow-down the issue.
Last edited:


