At Last!. I have started on my car ;-) PART 2

Plans, Mice, Men etc.

Only managed 1/4 mile before I noticed smoke billowing out from behind one of the trailer wheels! Turned round and hobbled back home. On investigation it transpires that one of the new tyres was rubbing on the inside of the wheel arch. The arch was faced with a decking plank (it was how I bought it) and this was scorched, hence the smoke. Although the new tyres have the same code - 165/70/10 - they are wider. A chisel and a 3mm spacer seems to have solved the problem.

I will try again tomorrow.
 
Looks like you should have got the boys from Classic Car Rescue on the job and it would have been finished in 2 weeks:lol:
 
But it would be utter crap. I wouldn't let Fineman anywhere near my car. In fact, he shouldn't be let near ANY car.
 
I managed to get to the fabricators today without incident :)

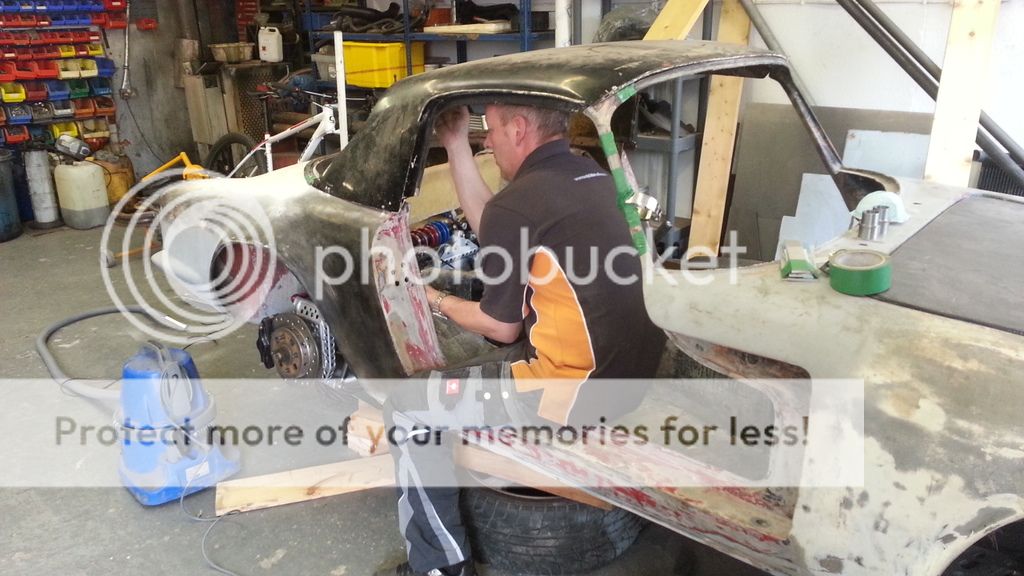
Car is set up with the chassis sitting square ready for work to start tomorrow. Guy in photo is Martin the fabricator.

 
The car has been at the fabricators for a week and I have finally got the chassis and body into an alignment that allows us to start on the roll cage. The chassis is nice and straight but the body is going to need a lot of work once the cage is in.

I have made up a pair of reducers out of 45mm solid bar so we can join the 44mm hoop to the front to back floor 38mm tubes:


Martin starting to mock up the hoop. We should see some progress by tomorrow evening:

 
Martin spent most of the day repairing a trailer and sorting out his backlog. Tomorrow is free so we should get a whole day on the cage.

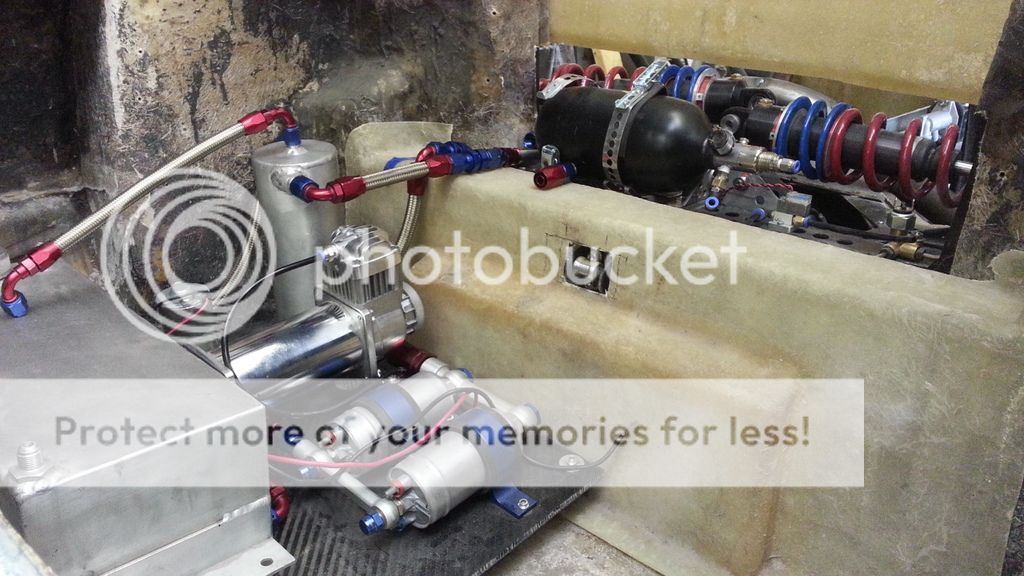
I took the opportunity to work on the fuel system pipework. The original design was made before I decided to fit a wheelie bar so a few alterations had to be made (to allow the top bar to clear everything).

Decided on where to put the filler cap (rear panel) and ordered a VDO dip type fuel sender so a few mods to the fuel tank required. Also moving the fuel return in order to shorten the pipe.

 
With the car away I can get on with the little jobs.

Needed to extend the fuel return pipe due to its repositioning caused by deciding to fit a wheelie bar. Could have done it using a collection of fittings and a flexipipe but it would have looked messy and be heavy :) Found this short extension and extended it. It is now cut to length and welded (no photo):


Started to clean up and lighten the door lock mechanism:


Cleaning rusty stuff is so much easier with a media blaster :)


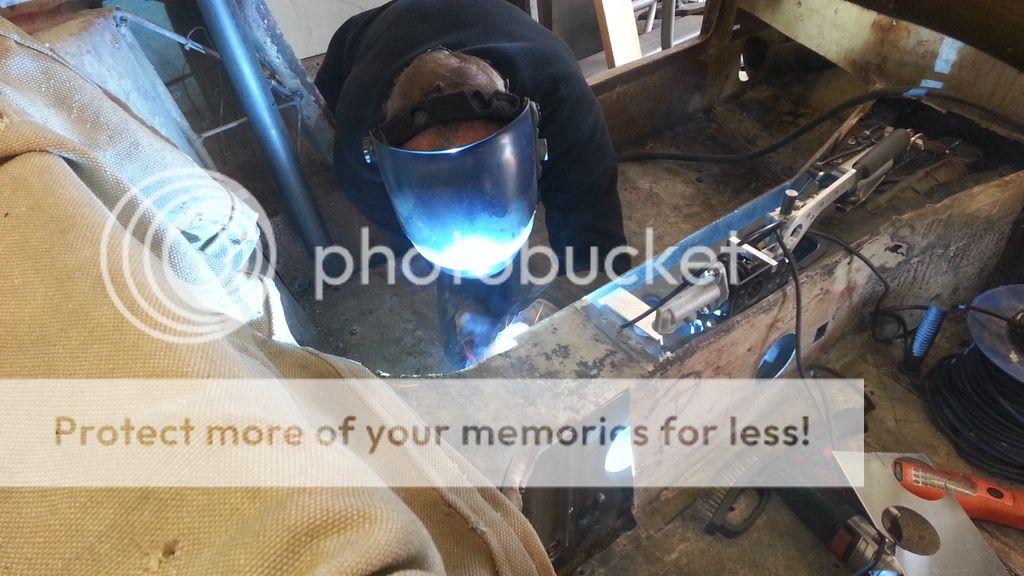
Finally, after nearly two weeks of preparation, welding has started!


Strengthening plates have been welded to the chassis where the cage joins it:


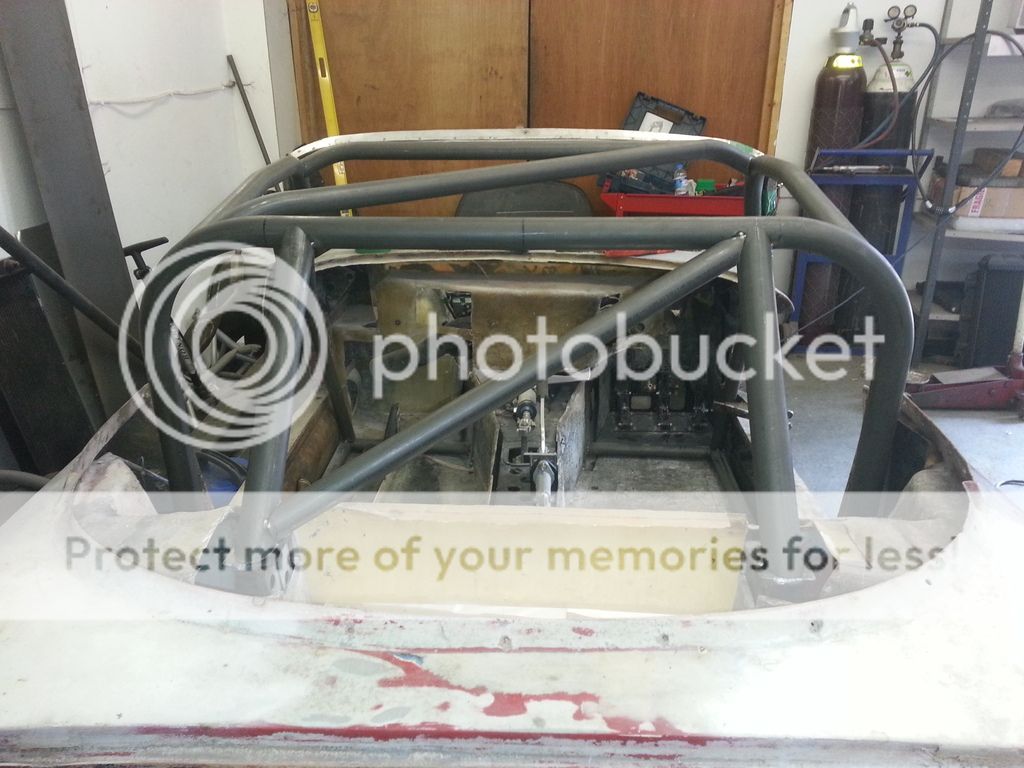
It is beginning to take shape:


How much additional weight do you expect the cage to be Steve once finished, and does the cage have to be scrutinised by an authority once completed for compliance to competition rules?
 
How much additional weight do you expect the cage to be Steve once finished, and does the cage have to be scrutinised by an authority once completed for compliance to competition rules?

Until we have finished, I have no idea. Once we have put in all the tubes I will measure and work it out. However, the T45 is nice and light :)

No plans to enter competition at present. If I do then we will cross that bridge then. Martin has built many cages for competition so he knows what he is doing.
 
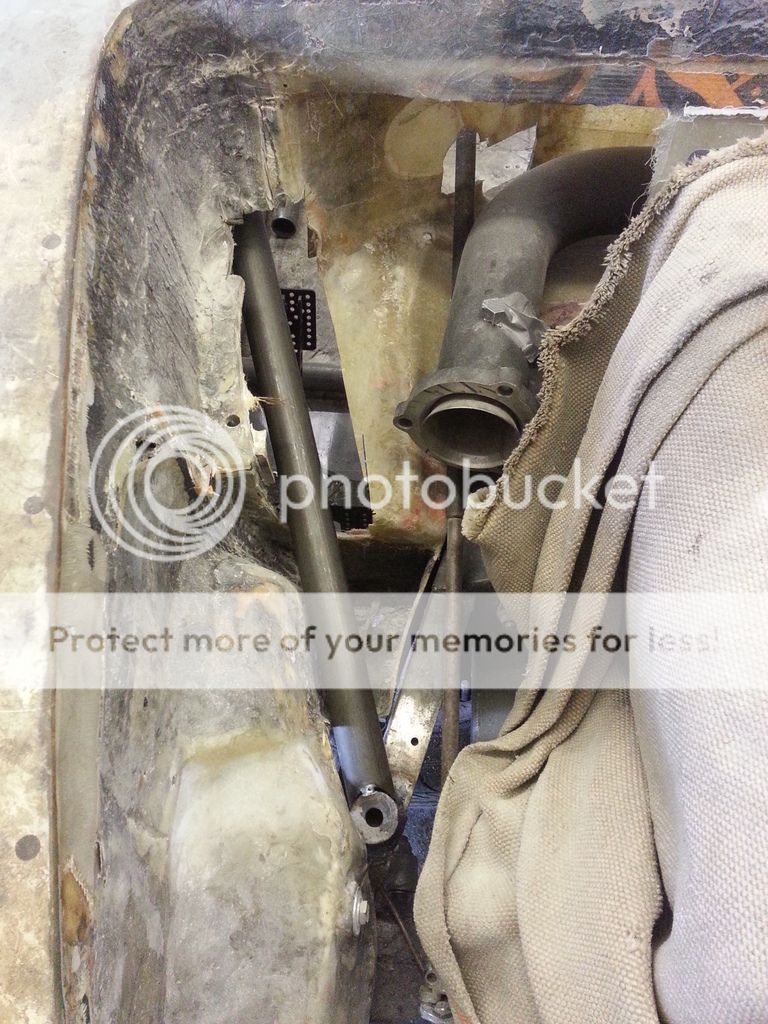
Pipes in photos above now welded in. The next task is the over door and down the A pillar tubes. Driver's side shouldn't be too bad as we only need a straight bend at the bottom of windscreen in order to tie it into the floor tube. The passenger one is a little trickier as it also has to bend in to avoid the exhaust shield. This will have to be done by eye and we will only have one shot at it. Wish us luck :)
 
The driver's door hoop proved more difficult than we first imagined, as it had to bend both inwards and down at just below the windscreen in order to meet with the floor tube, as well as line up with the A pillar. After a lot of head scrathing and back and forth to the bender we managed to get it pretty close. On to the passenger side tomorrow with a tad more confidence but with the caveat of 'pride comes before a fall' :)


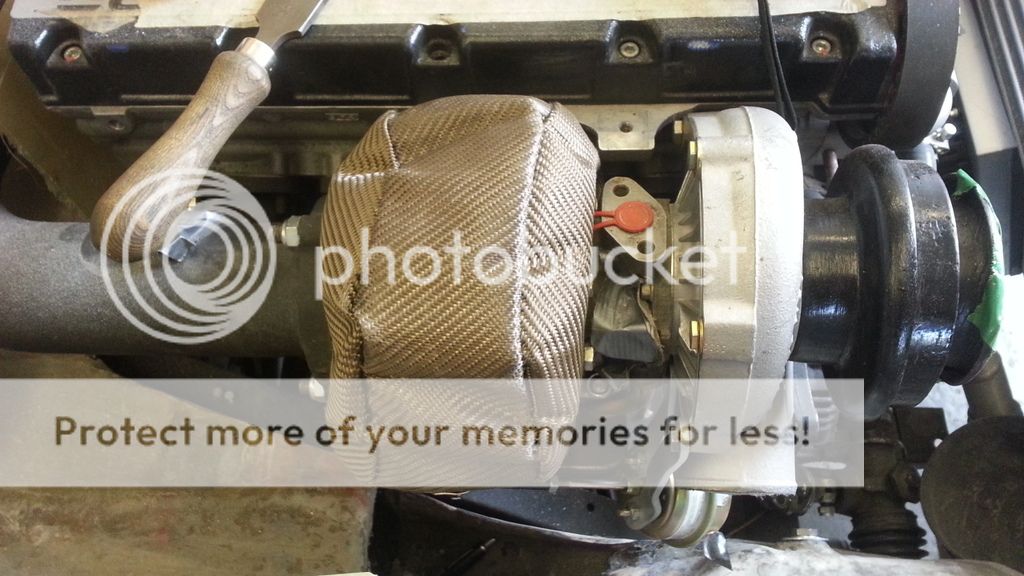
Also started to sort out the turbo blanket and designing the turbo damper/support.

 
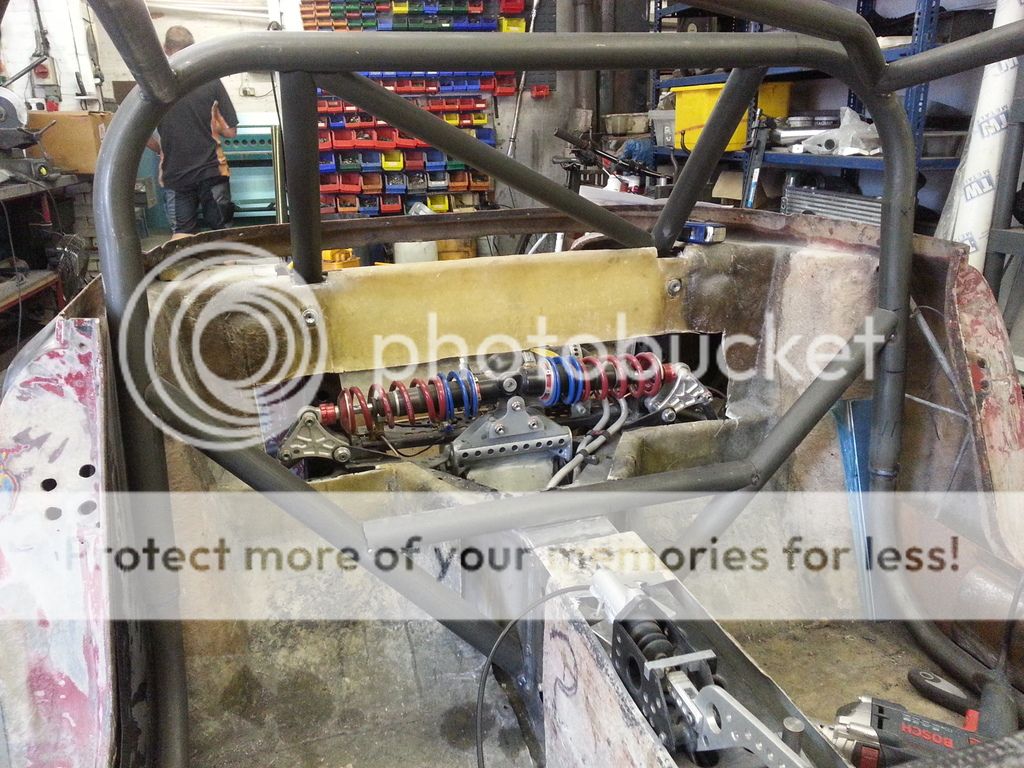
Passenger hoop now in. Note how close we have managd to get the hoops to the A pillars, we are quite pleased with that.I have also cut holes so we can get tubes through to the front of the chassis.


The tube on the driver's side will double up as a fixing point for the steering column support bearings. We are putting a couple of 'helicopter' U-joints in the column in order to relocate the steering wheel to a more central position relative to the driver.

 
Good to see progress .Should stiffen the chassis considerably as well as protecting your noggin |B :)
Are you getting a "taxi bar"for your shoulder strap mounting points ??
 
For the moment I will be using the existing single mounting point on the rear strut. The lower diagonals cover the original chassis belt mounting points so they will have to be sorted and I need to locate and fit 2 more so I can fit the 5 point harnesses.
 
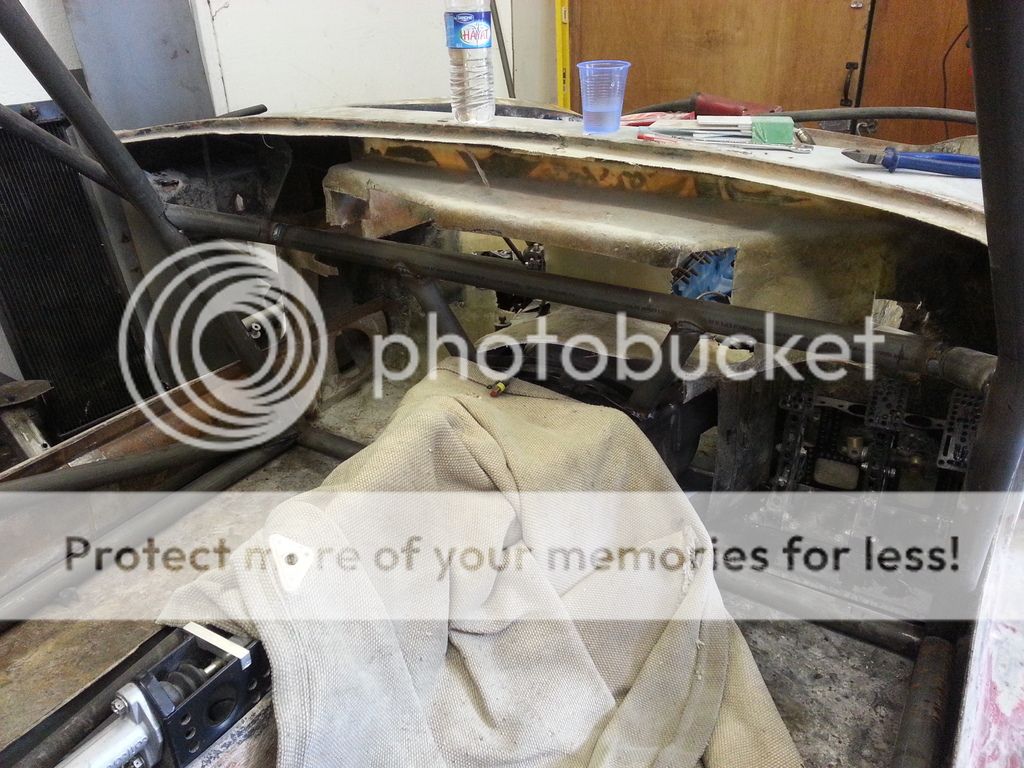
Final 5 bars fitted today - Under dash and door bars:


Door bars are lower than optimum, but I need a fighting chance of being able to get out :)

 
Wise man, I remember trying to get in and out of a Westfield race car fitted with a full race cage, that was no easy feat! I also had some bother doing the same to a NASCAR, that had no opening doors either, not very eloquent!
 
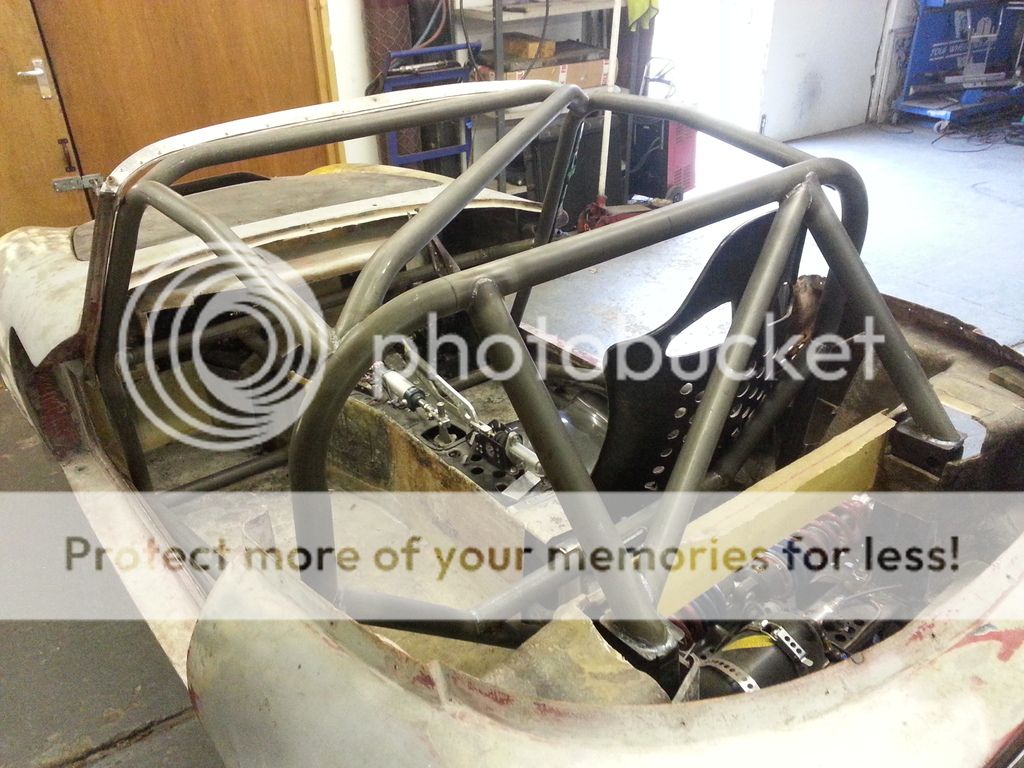
Cage is finished!!!!!

Weight is just under 32Kg. Considering that my original roll hoop weighted in at 14Kg, I think this is pretty good and well worth the high cost of T45 tubing. The memory of the cost will fade with time but the lightness will remain :)

 
Thought that I would weigh the car to see how I was doing.
No fluids, doors, lexan, seat, carpet, fuel tank, lights, wiring plus lots of little bits. Suspension not set up. Weight in Kg, unfortunately :-( but it does include the scale control panel on roof :)


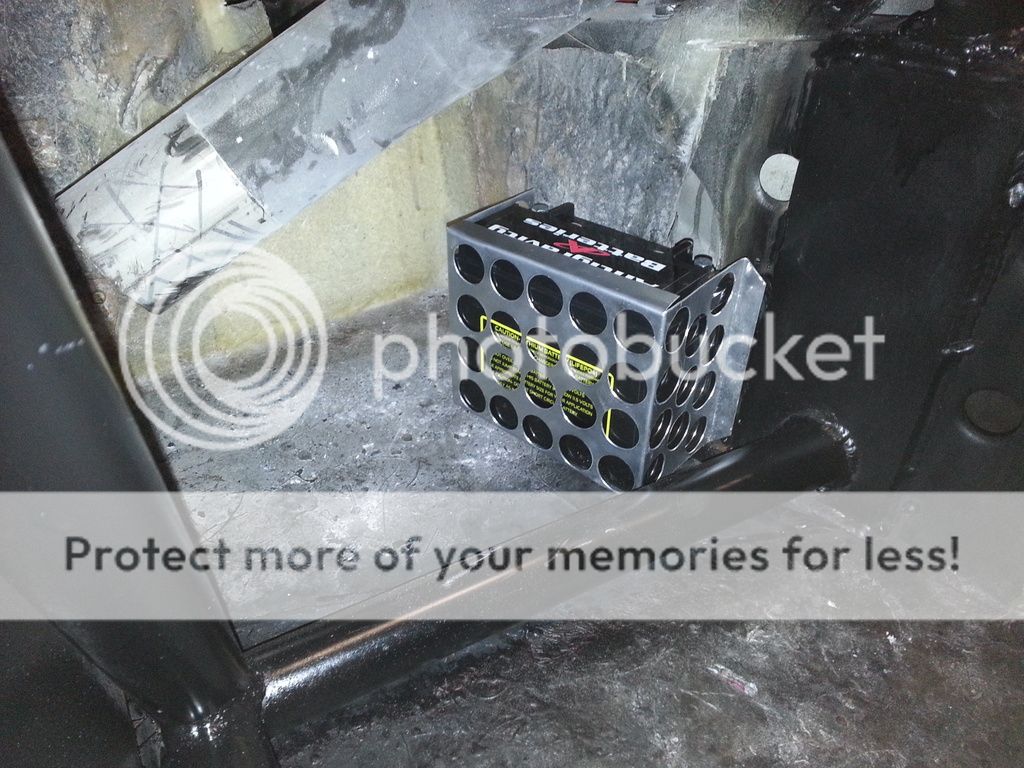
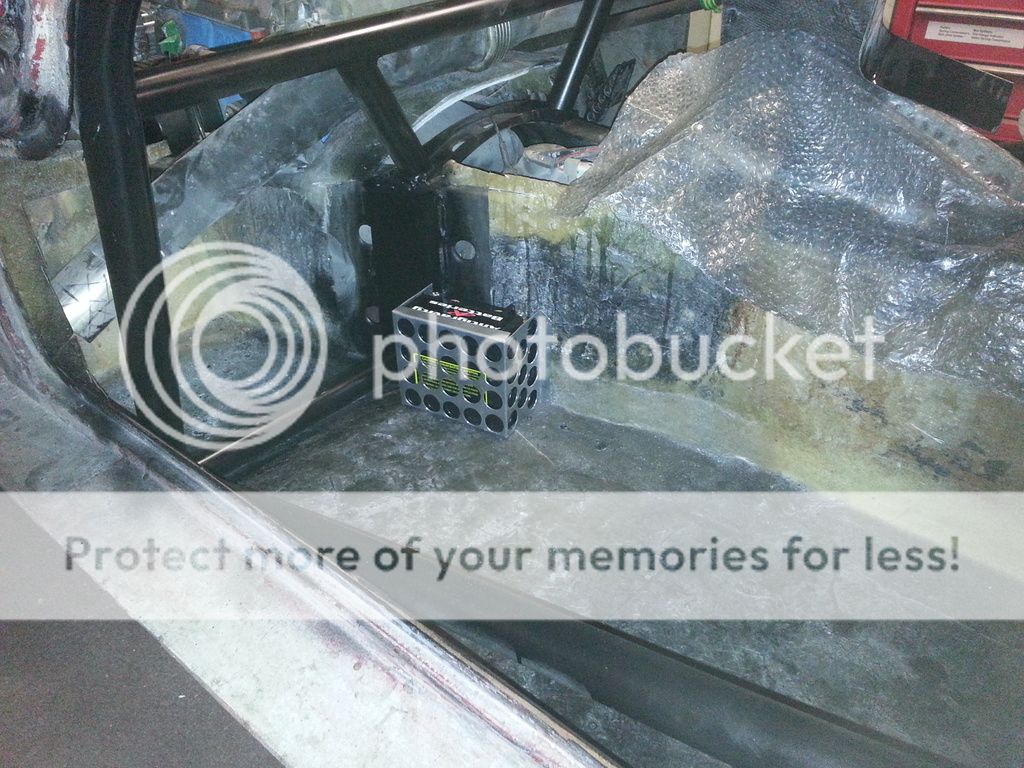
Spent the afternoon making a battery tray/support/house.

Next I have to decide where to locate the battery. Initial idea was to put it in the engine bay under the exhaust. However, this will mean a lot of heat shielding = weight and money. So, I think that I will fit it in the passenger footwell. It will be hidden by the tunnel cover.


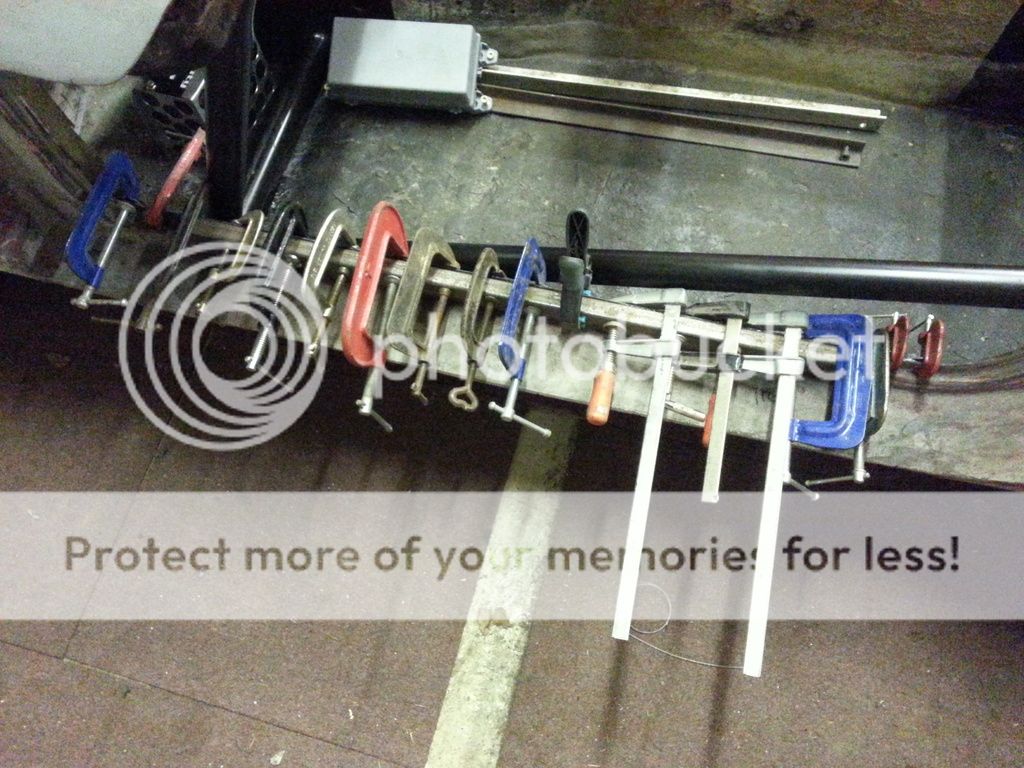
There are times when you can't have too many G-clamps :)

Gluing the steel exhaust shield to the fibreglass sill.

 
Replacement master cylinders arrived from China today. Weight saving, including reduction in fluid, is just over 0.75kg.


The fabrication of their new home is in progress. It will be covered with Zircotec heat shield.


I have managed to get the boot section to align with the roll cage,which is square to the chassis.


The tricky bit is going to be lifting the driver's A pillar 20mm. I will start on that tomorrow.
 
More by luck than judgement. The cage and boot may be straight but the rest of the body is a bloody mess!

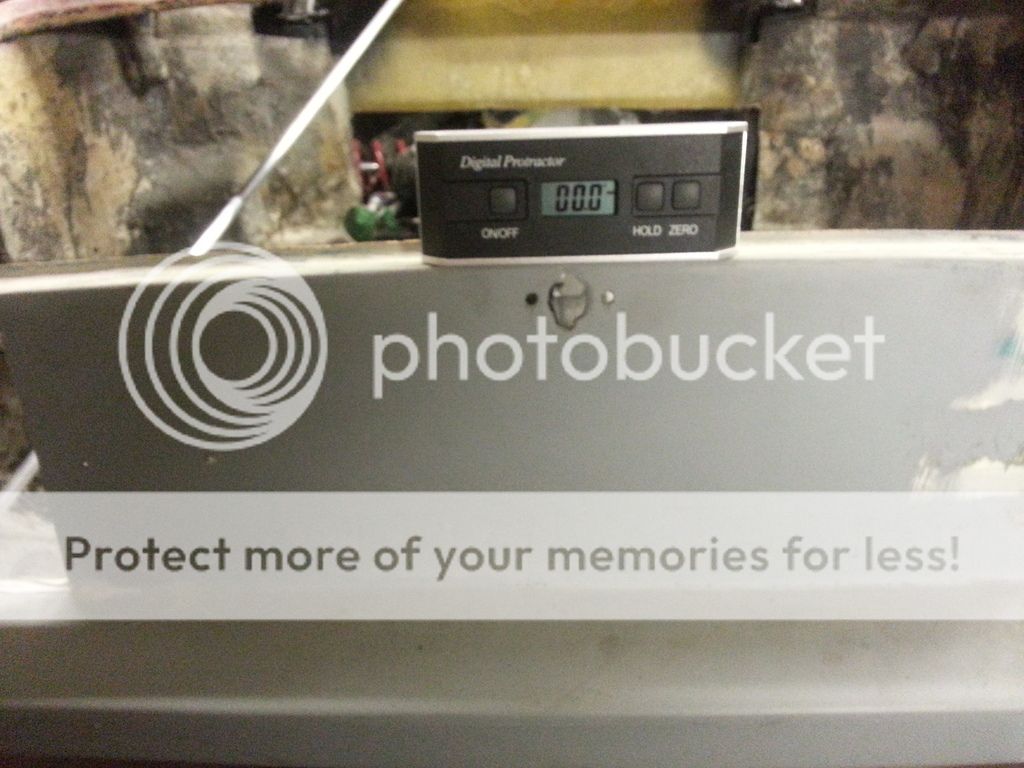
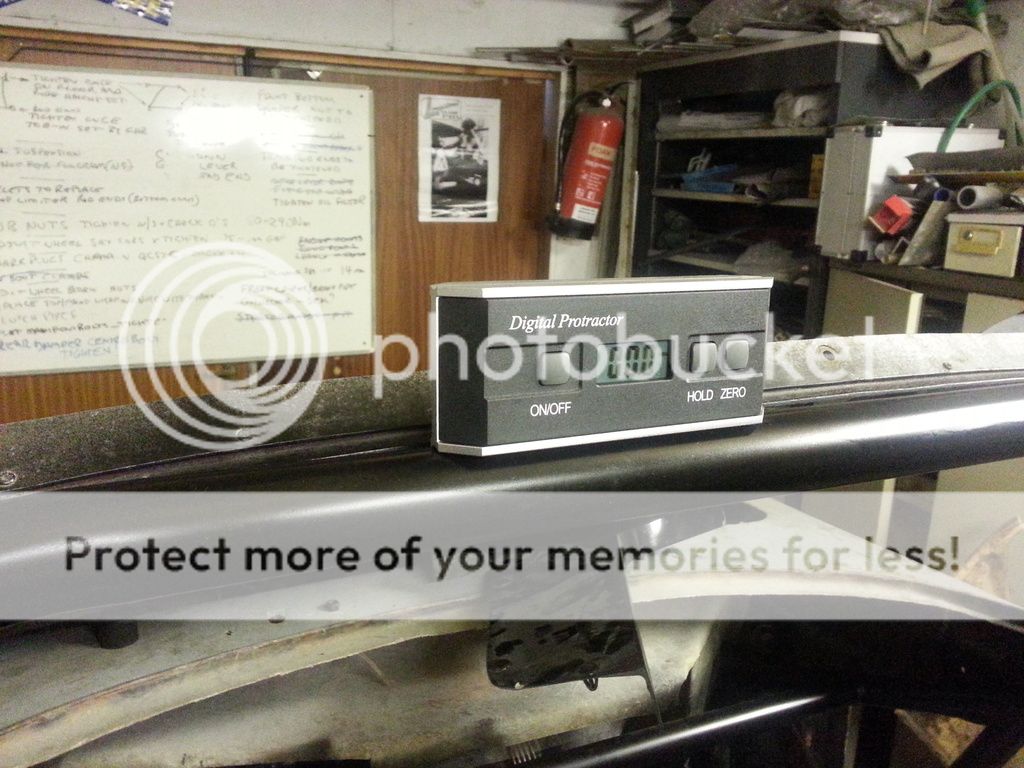
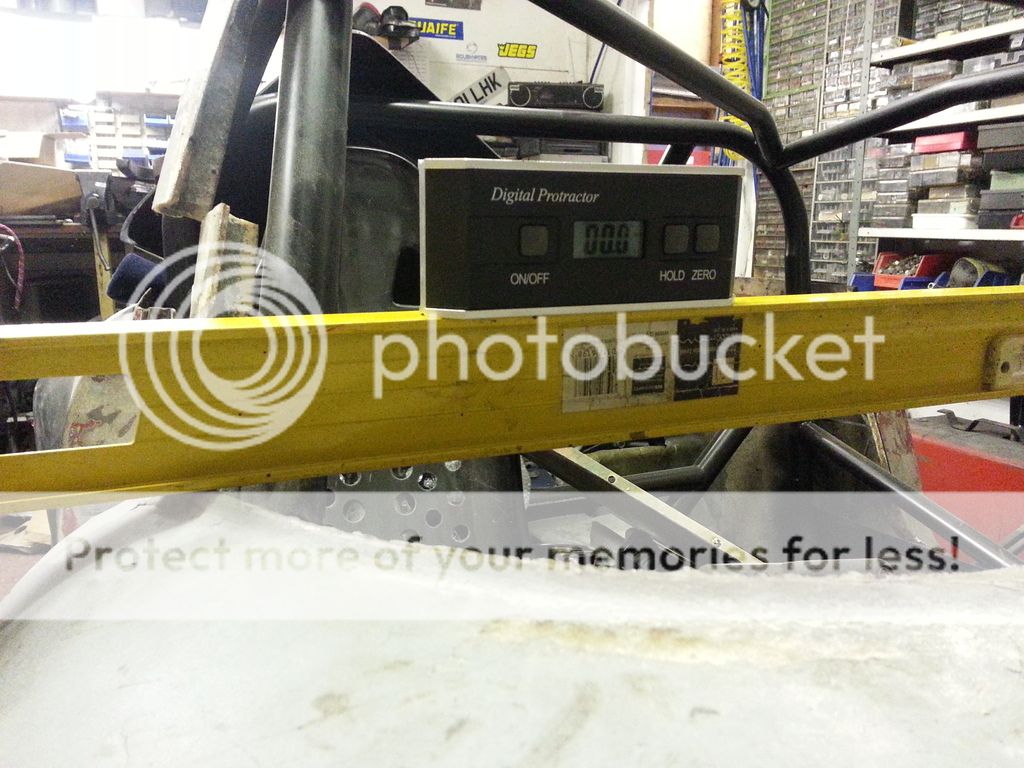
Just started on sorting out the droopy driver's A pillar and screen base. Digital protractor must be jammed :)


I weighed the roof the other day - 7.1Kg!!!!!

So, I am going to have a go at making a carbon fibre replacement which should save at least 4kg, possibly 5Kg if I am careful with the resin.

I will document the process on here (including all cockups) if anyone is interested.
 
The doors weigh 6kg each and I have managed to remove 1Kg by drilling lots of holes. I have decided to reskin them in carbon fibre, hopefully saving a couple of Kg each. I will do this before the roof as it should be easier and the practice will be useful :)
 

Similar threads


Please watch this on my YouTube channel & Subscribe.


Back
Top