At Last!. I have started on my car ;-) PART 2

Day 8

No progress. Picked up missing part of 12 tonne press bought last Friday.

My A-frames won't fit on this press so I spoke to my local garage but they won't fit on their press either :-(

Looks like a couple of sockets and treaded bar time.
 
Day 9

Well, I tried the stud and socket method.

On first attempt stripped the bar thread.

On second attempt used hardened bolt and nut but unable to exert enough force to move bush. Back to drawing board.
 
Day 10

No work on car but made list of companies to speak to at the Autosport Show so that sort of counts, doesn't it?
 
Day 11

Spent today at Autosport Racing Car Show at NEC. Met Loz (thanks for the ticket) but we went our separate ways only meeting for a drink at lunchtime.

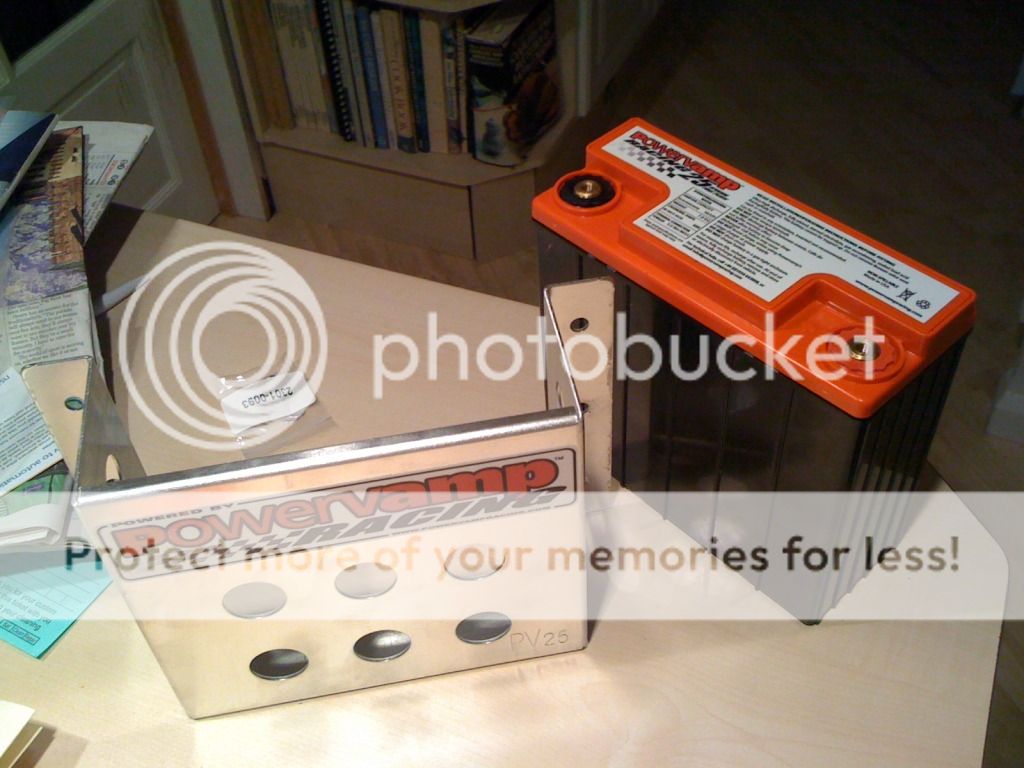
Bought a battery and tray for the Elan:

IMG_0356.jpg


Had a long chat with Willans re seat belts. Need to take some measurements so they can make a belt to my requirements - around £200

Met the guy building my flat shift system which should be ready in a couple of weeks.

Sorted out fastenings for the bonnet and boot.

Saw a nice steering wheel with all the buttins and screen info I could wish for. One small snag, it was over £8000!
 
Found out that you need twin rear fixings in order to comply with latest FIA regs.

Discussed fixing locations. Decided on 6 point harness with 3" webbing.

Alluminium adjusting clamps.
 
Day 13

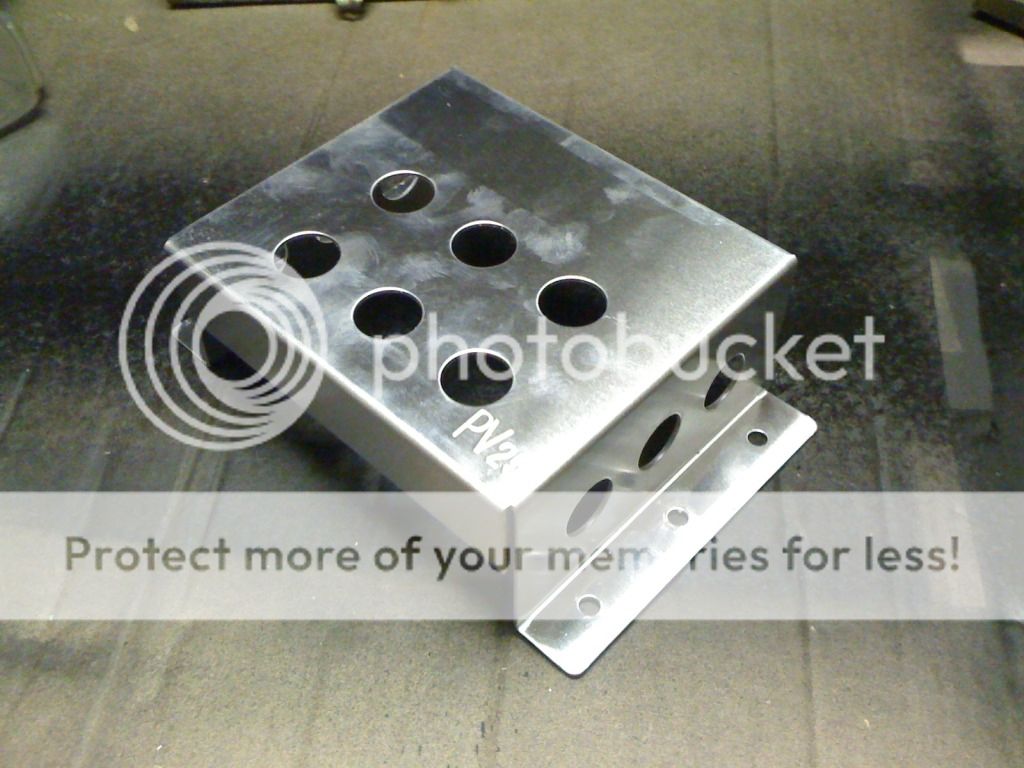
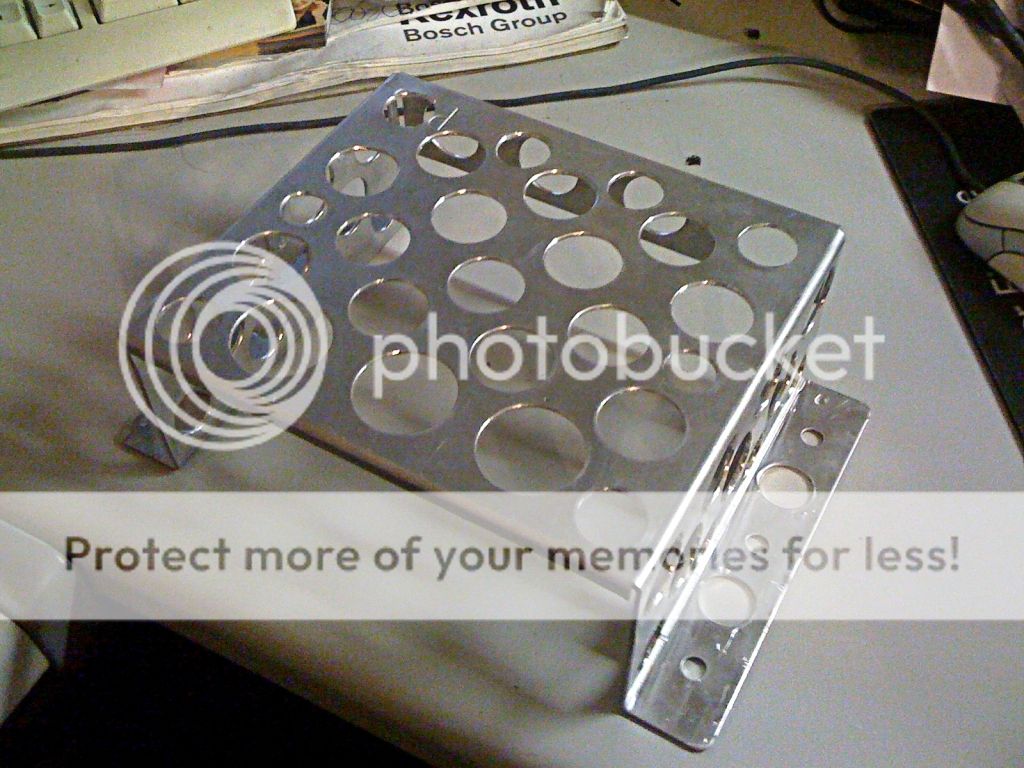
Still not feeling great, so cheered myself up by removing some weight from the battery tray. Started at 332gms now weights 268gms. When finished it will be, hopefully, at least 100gms lighter than standard.

This may seem anal (well, actually, it is ) and 100gms not much, but do this on 10 items and you have saved a kilogram. Do it to a hundred items and 10kg is saved. I'm doing it to everything I safely can.

batterytrayoriginal.jpg


batterytraypartlightened.jpg
 
Day 14

Success! Weight down to 230gms, a reduction of 102gms. I think I will leave it there as I don't want to be accused of being anal ;)

batterytrayfinished.jpg


Spoke to my chassis/suspension guru today. He advises against painting any car component black that is subject to stress. Component cracks show up on almost any colour apart from black. Oh well, need to choose some colours now for the suspension parts. Blue and red are the traditional colours, but I quite fancy silver or yellow.
 
Day 15

Stood in the spares shop looking at paint colours for about 20 minutes, humming and harring trying to make my mind up about suspension colours. Decided, eventually to stay traditional so chose red. Mind you, once painted there is nothing to say that I won't change my mind :)

Just spent a few minutes totting up the weight savings on various items (not everything, just the larger savings).

Original weight 146.32kg, new weight 68.02kg a saving of over 78kg! This more than compensates for the heavier engine and diff so car shouldn't end up weighing more than the original 700kg, hopefully less than 650kg as I haven't tried to add up the weight savings made such as the battery tray above.
 
Last edited:
Absolutely. l have a dustbin full of aluminium milling and lathe swarf along with scraps. When the major machining is complete I will weight it in, might pay for a pint or two :)
 
Day 16

Tried painting an A-frame but it was so cold the paint didn't want to dry and ran very easily. I will have to rub it down when it finally dries and try again when the workshop is warmer.

Wife's birthday today so not doing any more on the car.

rearaframeinred.jpg
 
I don't do any painting this time of year as too cold in the garage regardless of how I try and heat it. Oh yea, mustn't interfere with swmbo's birthday! It was my missus yesterday. Wish her all the best!
 
Day 17

Bought an LPG space heater (small) today. Wasn't too impressed until I realised the gas bottle was almost empty! I will try again tomorrow with a full one.

Gave the wishbone another coat of paint.
 
Thanks.

Day 18

Fitted full gas bottle to heater and it now works. Very toasty within a few minutes, a little more noisy than I expected though.

Struggled with rattle cans but managed to finish one A-frame and one coat on the other.

Tried to spray top wishbones but can just wouldn't work for more than a couple of seconds. Took it back to the shop and ordrered 2 more that I hope will work.
 
Day 19

Not a lot today. Tried to sort out CNC mill PC but still no luck. I think I have to start from stratch with a new PC.
 
Thanks.

Day 18

Fitted full gas bottle to heater and it now works. Very toasty within a few minutes, a little more noisy than I expected though.

Struggled with rattle cans but managed to finish one A-frame and one coat on the other.

Tried to spray top wishbones but can just wouldn't work for more than a couple of seconds. Took it back to the shop and ordrered 2 more that I hope will work.

rattle cans? thought you would have had a spray gun
 
I have, but for spraying small items cans are far more convenient compared to setting up and cleaning spray gun.
 
Day 20

At last! Fixed the CNC Mill.

Original PC that came with the Mill packed up, so I transferred the hard drive to a spare PC but couldn't get it to talk to the Mill.

I was faffing about with it today and managed to get movement, albeit the same Y-direction with both direction keys.

The motor output screen has two columns where you can input a step pin number and a dir pin number, ranging from 1-11. Going though all the combinations I finally managed to get all three axis working! It would have been quite quick, but many of the combinations conflicted with the mouse making it very difficult to click on boxes as the cursor zoomed about the screen randomly:)

Not much in the way of car progress, maybe, but a good thing to get sorted out and it now means I can start to learn how to make interesting stuff :)
 
Urgh... We have an old CNC milling machine where I work. Used to run off serial ports, but with the recent Windows 7 update the school did, it was no longer supported. Extremely annoying when you have to replot the axis's.

But glad you got it all sorted in the end! :)
 
Day 21

Two steps forward, one step back.

Spent a fruitless afternoon trying to install Autodesk Inventor so I could start designing the rear inboard damper bits. Kept coming up with registry errors. By ignoring these the program would install but not work propery (hardly surprising).

Works on my laptop so I will get the charger back from a friend tomorrow so I can progress.
 
Day 22

Got laptop charger back so started Inventor 7 tutorials. Managed these ok.

However, I can't see how to join lines to circles at tangent points to make a triangle with curved ends so tomorrow I am off to see friend who gave me the software for help.
 
Day 22

Got laptop charger back so started Inventor 7 tutorials. Managed these ok.

However, I can't see how to join lines to circles at tangent points to make a triangle with curved ends so tomorrow I am off to see friend who gave me the software for help.

Draw the lines in free space away from the circles drawn, then use the tangent constrant and click the line and circle you want to join. Then trim or extend to suit. If the circles drawn are already dimensioned then you will be fine.

I hope the laptop has the power to run the software, correct graphics card and memory big enough otherwise it'll struggle.
 
Day 23

AhHA! A fellow inventor user. You may regret admitting to this :)

Thanks, Stamford, I will try that. However, the workaround was to transfer drawing from Autocad and use that.

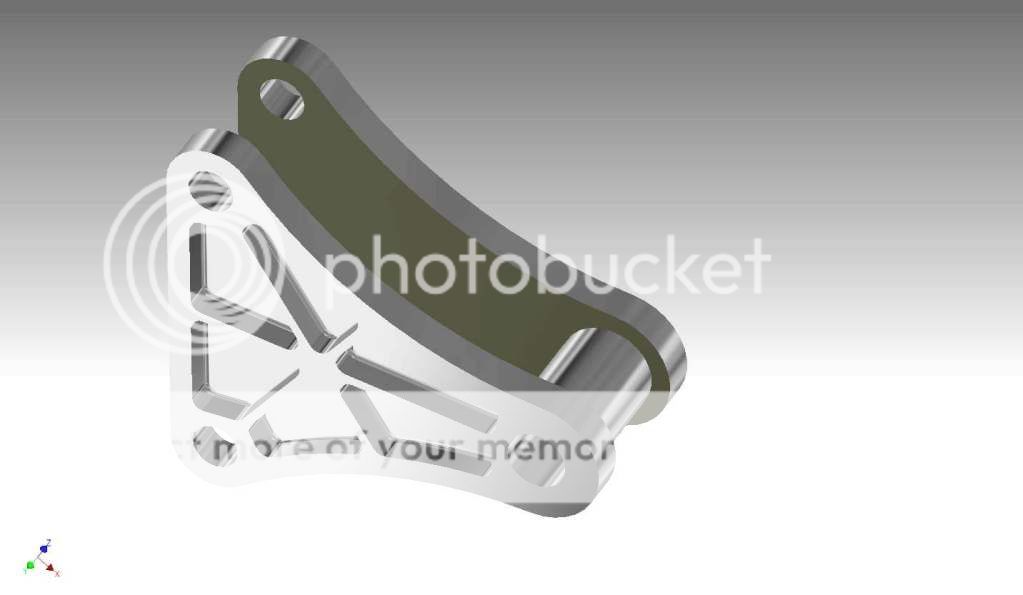
There will be 4 of these in matching pairs. They join the rods from the suspension to the inboard damper.

Design will be refined before finally fabricated:

damperfulcruminventorreduced.jpg
 
Last edited:
Day 23

AhHA! A fellow inventor user. You may regret admitting to this :)

Thanks, Stamford, I will try that. However, the workaround was to transfer drawing from Autocad and use that.

There will be 4 of these in matching pairs. They join the rods from the suspension to the inboard damper.

Design will be refined before finally fabricated:

damperfulcruminventorreduced.jpg

I normally do! :amuse:

Any problems let me know. I'll pm you my email if stuck.
 
Thanks.

As usual, however, a rethink has produced this. Now I have to work out how to convert this drawing into G-code so the mill can make it :)

fulcrumribbed2.jpg
 
Add fillets to remove any stress areas. Then in 'iproperties' you can enter the material to be used and then get its weight ;)
 
Day 24.

Picked up replacement Hammerite rattle cans from spares shop. Put first coat on rear supspension wishbones. Having to put light coats on as garage is cold so paint easily runs.

Played with Inventor, trying to put a pair of brackets side by side, but no luck as yet
 
Day 26

Another coat of hammerite.

Discovered that I could download Inventor 2013 student version for free so started to do that. Needed to clear some space on my C drive as it needs over 8Gb!
 
Day 27 .

Finally installed Inventor 2013. A lot different to Inventor 7 so a bit of relearning required.

Still more spraying of wishbones but almost done :)

As can be seen, design has evolved over the last few days. This is final (hopefully). Apologies for colour, but having trouble changing it in thenew software.

fulcumribbed2rh.jpg
 
Last edited:
O-G man I wish I had your knowledge and experience, and to go for a spin in it when done,ish......

It's all a front, really :) I think that I know a fair bit, as I have been around for quite a while so have picked up knowledge by a combination of accident, interest, listening to clever people as opposed to 'experts' plus reading a lot of authoritive books on the subject.

However, I know very little compared to the people who are helping me, so I am bathing in their limelight.

If you are ever over here from next year contact me :)
 
Day 28

Spoke to my CNC man re these fulcrums/brackets. When he said he would make them for £12.50 each I said go ahead! Should get them this week.

I am replacing the connecting tube with a wide bearing that can take its place. Using the bearing for two purposes is a Colin Chapman mantra - Wherever possible make one item do more than one job.
 

Similar threads


Please watch this on my YouTube channel & Subscribe.


Back
Top