MasterAuron
Very Senior Member
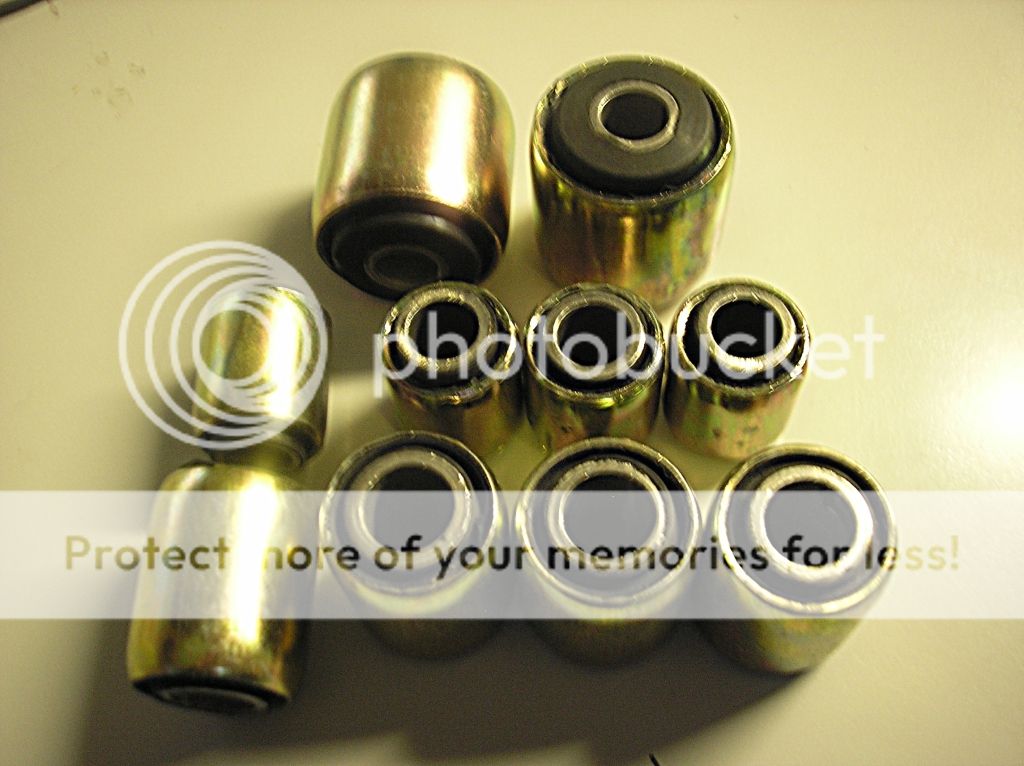
Ordinary rubber bushes?
Ordinary rubber bushes?
Quite a few MX-5 racers stick with OEM bushes. I may well do the same when I need to replace mine.
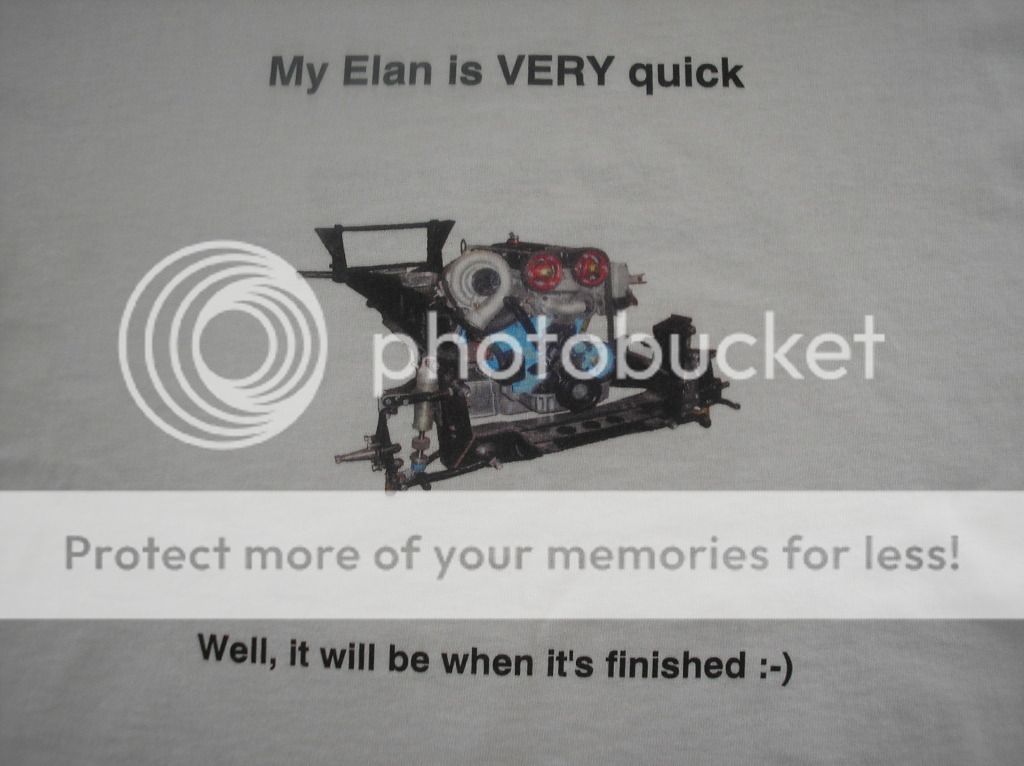
Due to the time this project is taking me I thought this T Shirt would be appropriate - good old VistaPrint

 I like that. :amuse:


There is a fair amount of 'Emperor's new clothes' about poly bushes.
")
I have never heard that analogy used before when it comes to describing poly bushes OG :blink: I have a full set on mine and you know they are present just by putting your hand on the car door handle
am im reading this right as this is just a trial? or you looking at supplying them to other elan ownersI will do this in the production version.
Due to the time this project is taking me I thought this T Shirt would be appropriate - good old VistaPrint
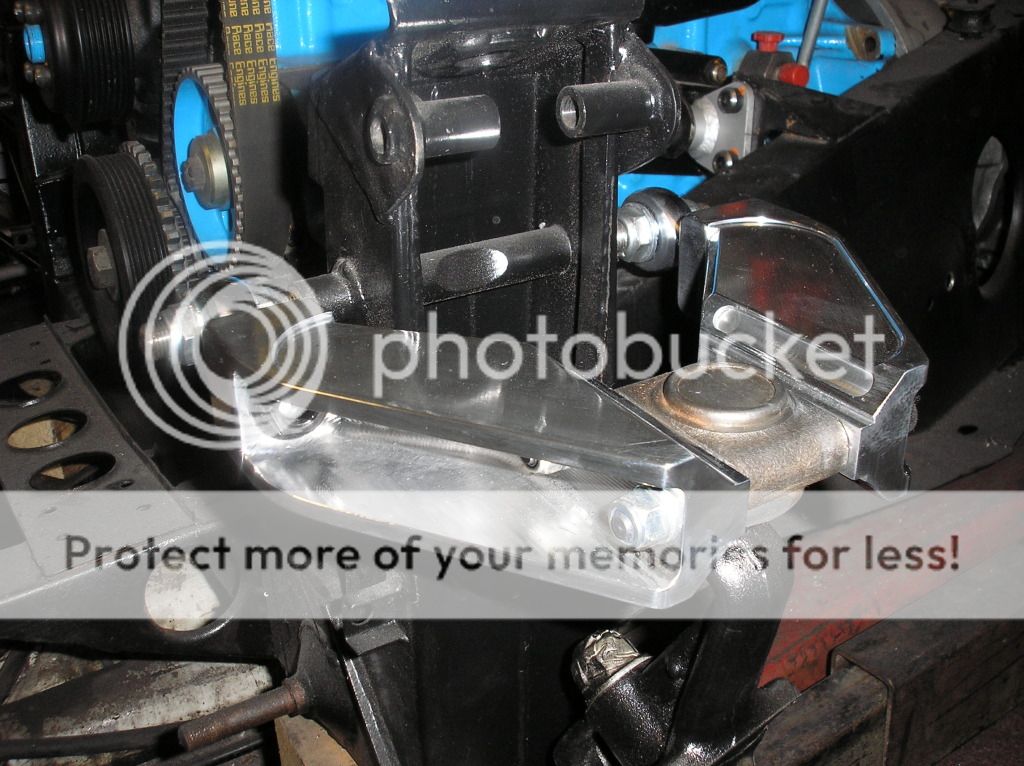
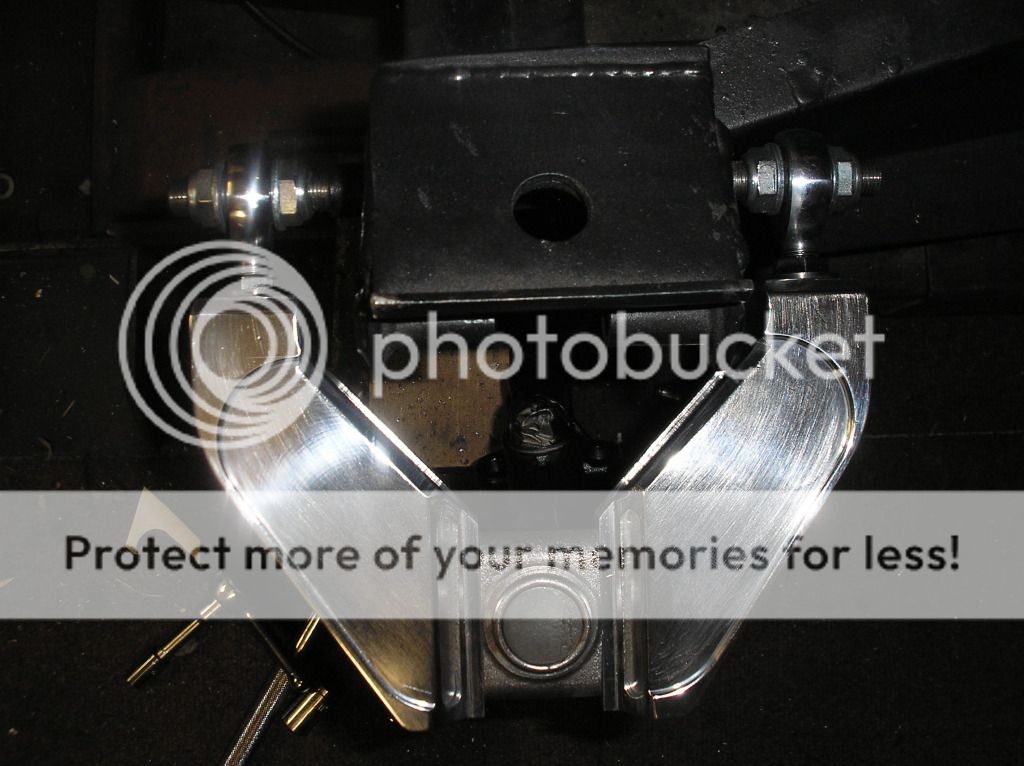
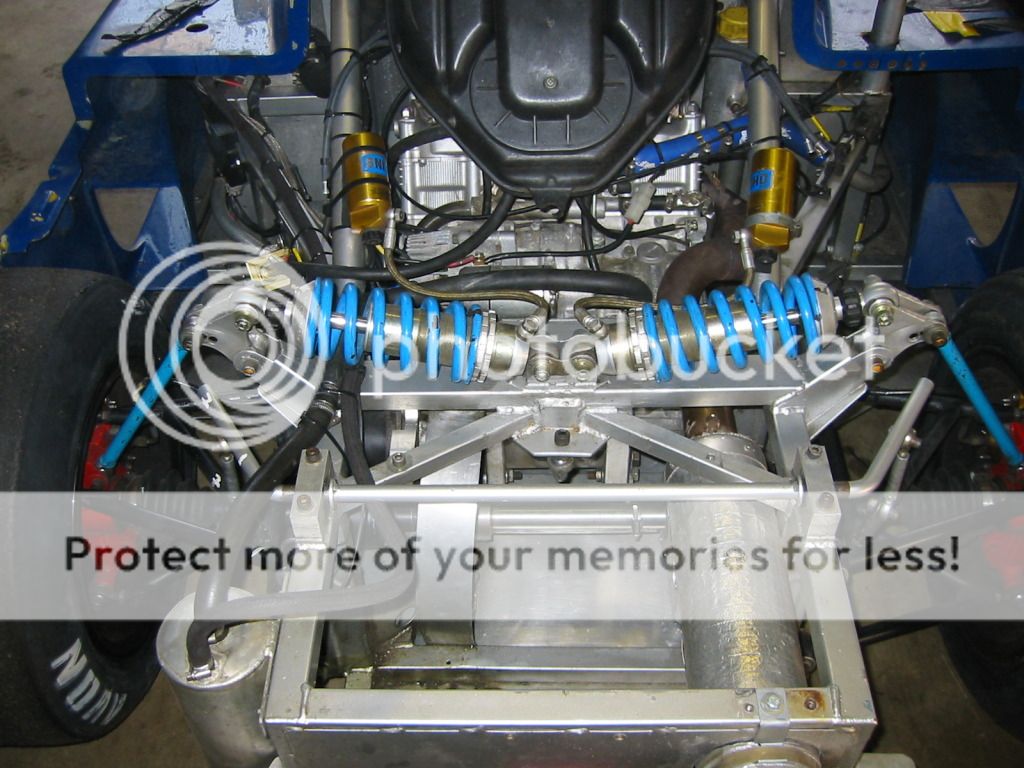
Those wishbones look spankin' OG, makes me want to buy a car just so I can fit them!
Correct.
Thanks.
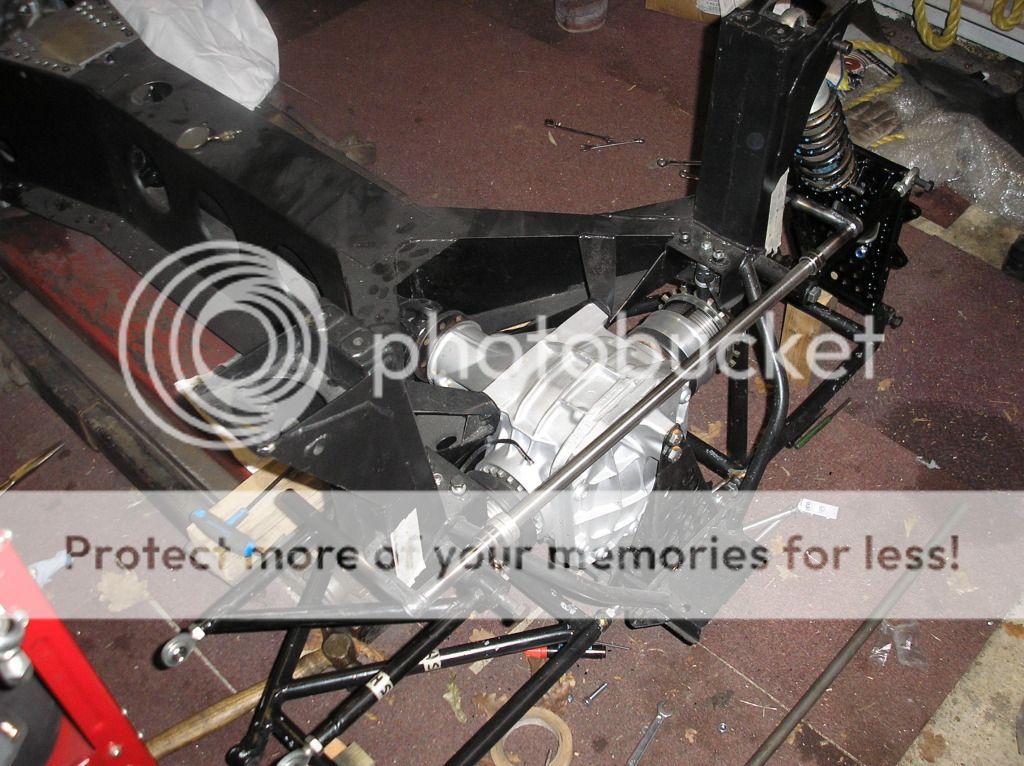
Love me a cossie engine.
I've been looking at the CVH lumps, the 1.6 litre turbo engines, I get a bit confused as too way people go with the red top YB engines instead? Surely the 1.6's are lighter, and with the right mods you can achieve quite a few horses.
Please do educate me if I am wrong, I love all the old school ford engines.
.

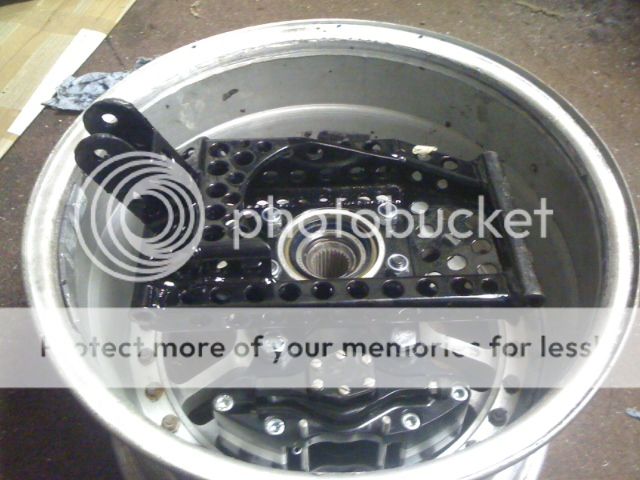


is the 1st wheel 2 piece? how would these work with weight ?